Survey

How to create surveys for your guests (Pro subscription and higher)

Here you can find out how to create surveys for your guests, for example to gather feedback on the organization of your event.

Feature: Surveys for your guests

Surveys with guestoo

Surveys with guestoo -

The option to create polls for your events is available starting with the Pro subscription.


However, you can also add this feature to the Basic subscription for an additional fee.

You can find more information about this feature on this page. You can add this feature in the Feature shop (Direct link).


Once the feature has been added, you will find the "Public Polls" section under "Settings" in the event, as well as a completely new menu item "Polls".


You can find an example of what a survey created with guestoo might look like here: Example survey

Create survey

Create survey -

How to create a survey in guestoo:

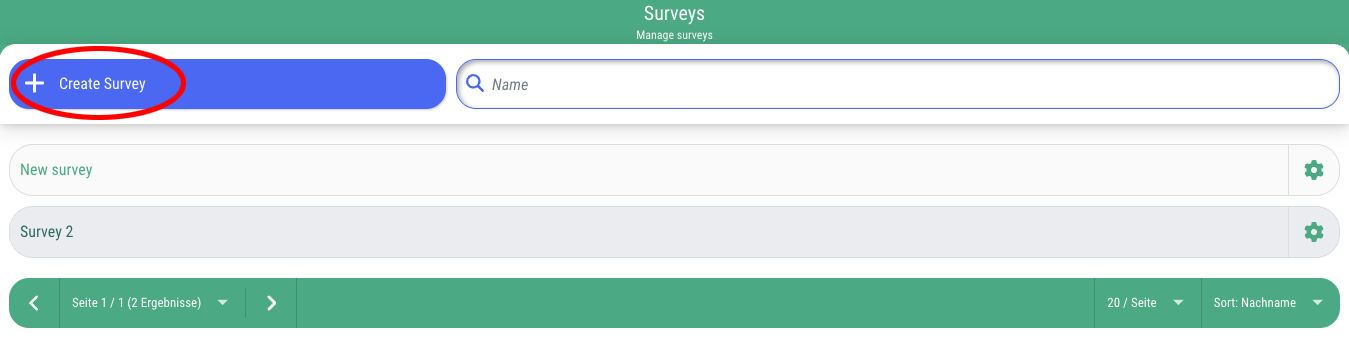
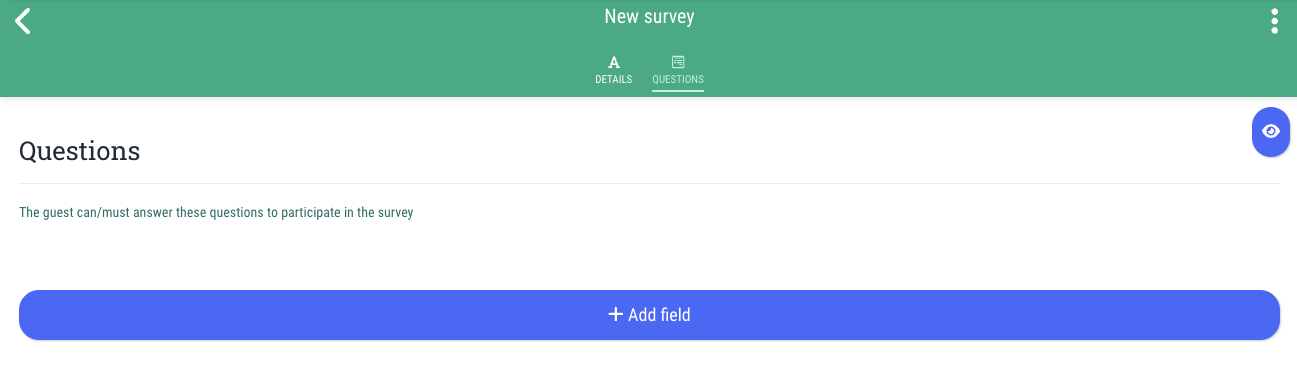
  • Go to the menu item "Surveys"
  • Click on the button "+ Create survey"
  • Enter the name for the survey and click on "+ Create new"
  • Click on "Edit"


Here you have the option of entering the following texts:
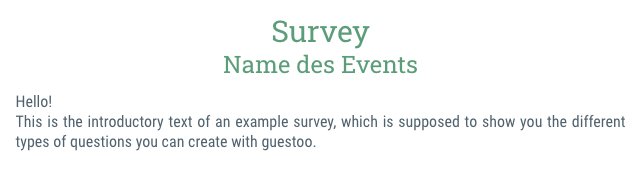
  • Intro text: 
    This text will be displayed above the survey. If desired, you can personally welcome your guests here by using placeholders and writing an introductory text for the survey.
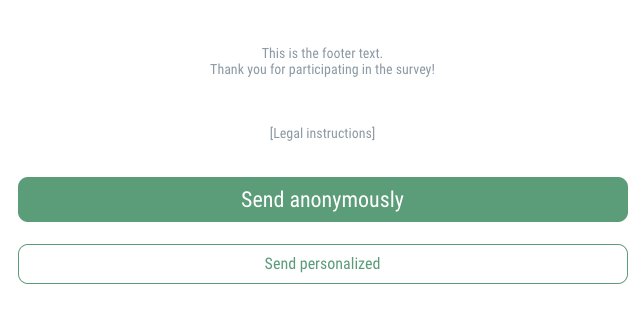
  • Footer text: 
    This text will be displayed below the survey. Here you can thank your guests for participating in the event and the survey, for example.
  • Legal instruction:
    This section contains legal information regarding the participation in the survey. Please consult your lawyer or a data protection officer if you need help creating this text.
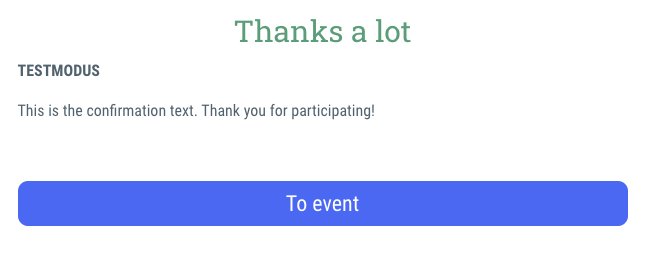
  • Confirmation text:
    This text will be displayed to your guests once the survey has been successfully completed and submitted. Here, you can thank them for participating in the survey, for example.


You also have the option to create a Call to action that you can use for your info mailings.

  • Button: 
    If you select this option, your guests will see a button at the end of the mailing. If the guest clicks on this button, they will be redirected to the survey page.

    You can edit the text on this button in the “Button text” input field.
  • Rating: 
    If you select this option, your guests will see a question of your choice at the end of the mailing. Here, guests can select their answer directly and will be redirected to the survey page by clicking on the vote button.

    You can select the desired question under "Question (Type: rating)"

    Important: If you choose this option, you must first create at least one question of the type “Voting” in order to be able to select it here.


Under the section Settings you also have the following options:

  • Disable anonymous voting
  • Hide event button after survey has been submitted


Important: Once you have entered all the necessary information, don't forget to click “Save” to apply the changes!

Create questions

Create questions -

Once you have created the survey, it is time to add questions.


This is how:

  • In the menu item "Survey" switch to the tab "Questions"
  • Click on the button "+ Add field"
  • In the dialog window, choose the desired Type. You have the choice between:
    • Rating
      This field type allows your guests to submit a rating. You can choose whether this should be in the form of smileys or stars (5 or 10).
    • Outdated - Smart list
      With this field type, you give your guests the opportunity to choose between different answer options that you have predefined. You can choose whether multiple selections are allowed and whether a selection should be made as a quantity specification. In this case, the guest must specify a quantity value as a number (e.g. “2”) for the selected option.
    • Text (single-line)
      If you select this field type, your guests will have the option to enter free text in the field.
    • Textarea (multi-line)
      This field type also allows your guests to enter free text. This field type is particularly suitable if your guests need or want to enter longer text.
    • Image
      If you select this field type, your guests can upload an image file.
    • File
      If you select this field type, your guests can upload a file.
    • Checkbox
      This field type displays a checkbox that your guests can activate by ticking it.
    • Sub-headline (Read only)
      This field type creates a subheading. This is useful in longer surveys, if you want to make the survey a little more structured.
    • Explanatory text
      This field type allows you to insert longer texts, e.g. if the following questions require a longer explanation or you want to provide your guests with additional information.
  • Label:
    Here you can enter the desired text for the field, e.g. “How did you like the event?”
  • Width:
    For each field, regardless of type, you have the option of specifying the width of the field. If you select 50%, two consecutive fields with a width of 50% will fit side by side in the same row. If you select 100%, the field will take up the full width of the row.
  • As soon as you have entered all necessary information, click on "+Create new"
  • Following these steps, you can add as many questions as you want to your survey

Send out survey


Once you have finished creating your survey, you can send it to the guests of your event.


This is how:

  • Go to the desired event
  • Go to the menu on the right side and click on the menu item "Mailings"
  • Name
    Here you enter the name under which the mailing will be saved for future use
  • Type of mailing
    Choose the mailing type "Survey" here
  • Recipients
    Here you can set filters to specify who should receive the survey mailing
  • Assign survey
    Select the survey you want to send from the drop-down menu
  • Content
    Edit the subject line, text, and header image for the mailing here. If desired, you can also add sections here (see below).
  • Click on "Send"

Note: You can find more detailed information about the various settings you can configure for a mailing on this site.

Public survey at the event


You can also post a survey as a public survey on the event page so that anyone who visits the event page can see it.

You can find out how to do this on this site.