Once at least one area and one price category have been created, you can take care of the seating arrangements and available seats.
This is how:
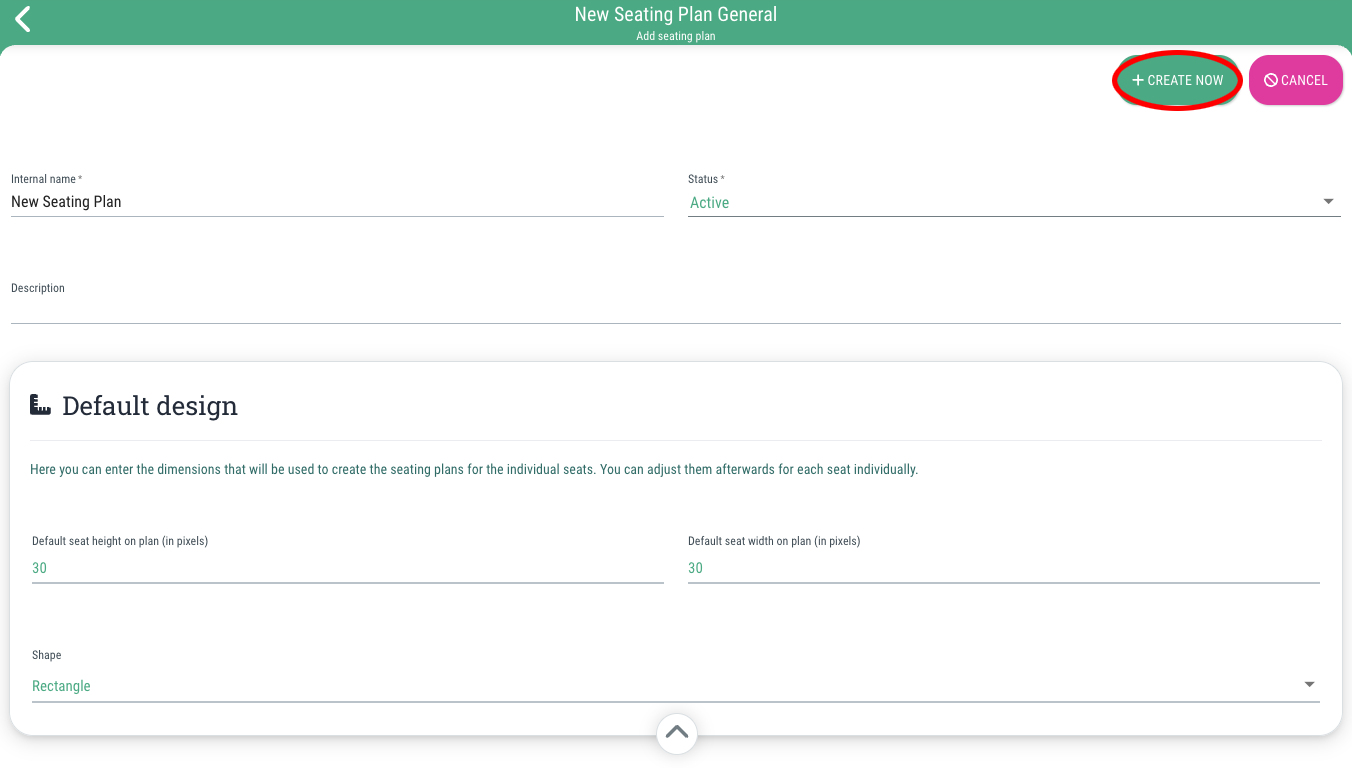
- Go to the menu item "Seating plans" and switch to the tab "Chairs"
- Click on "Edit"
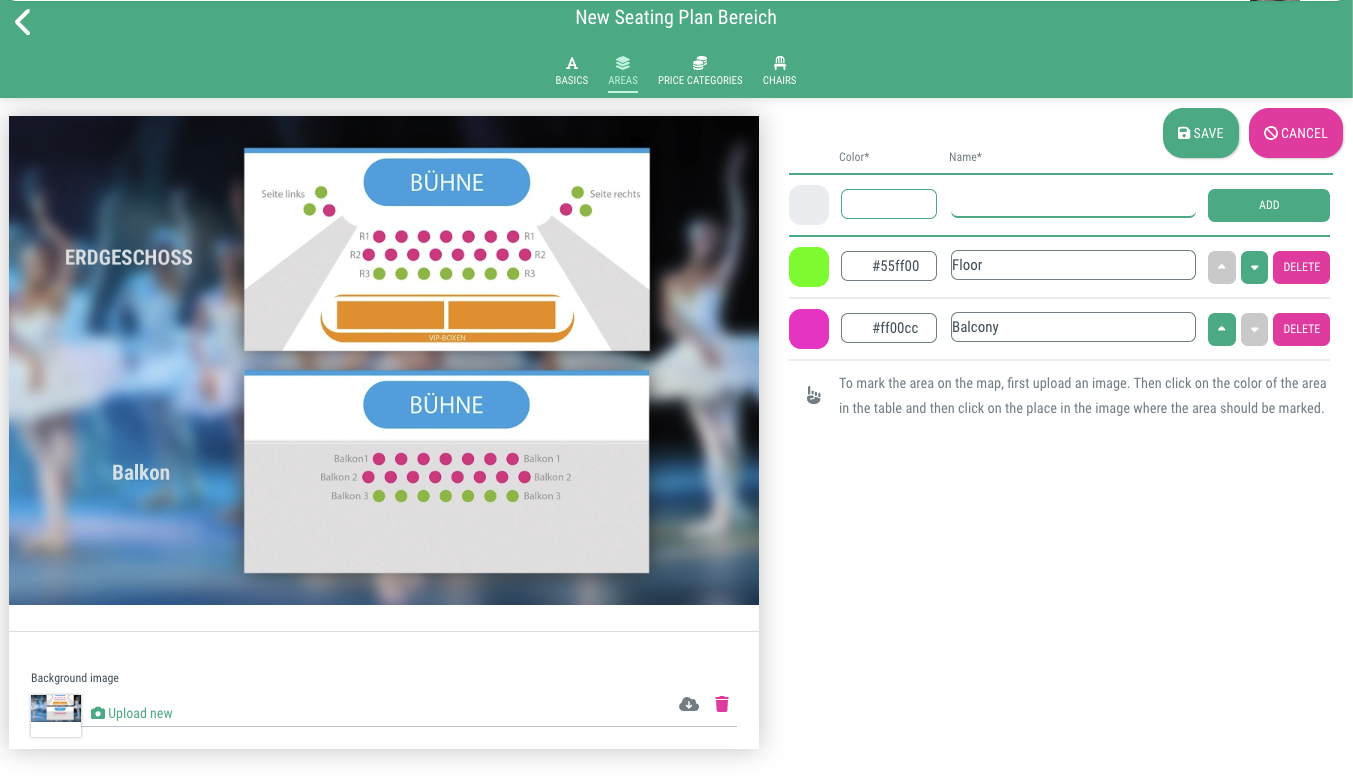
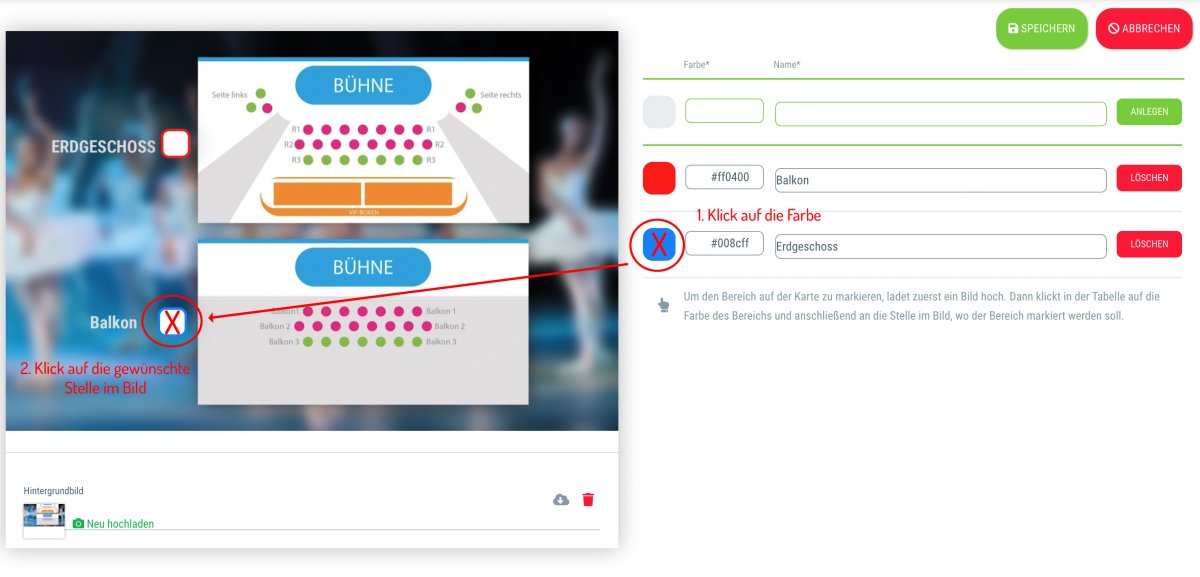
- Select the desired area you want to assign seats to from the drop-down menu (e.g., ground floor, balcony, etc.).
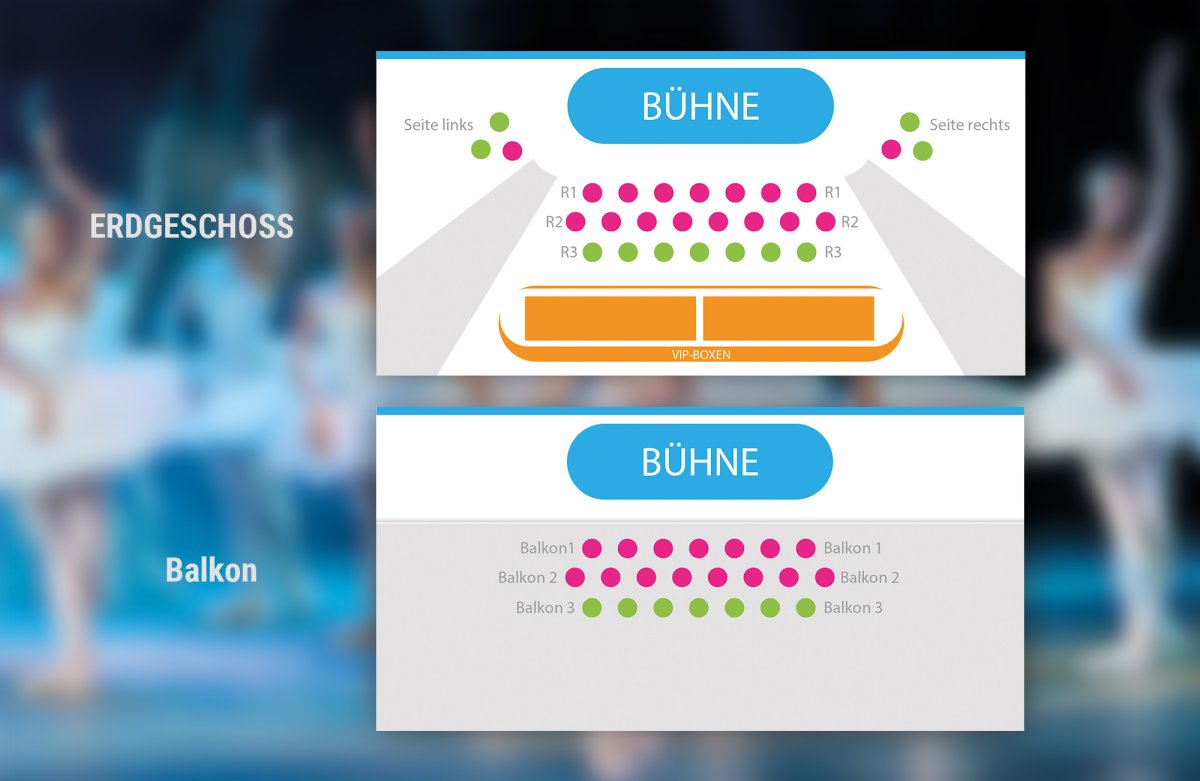
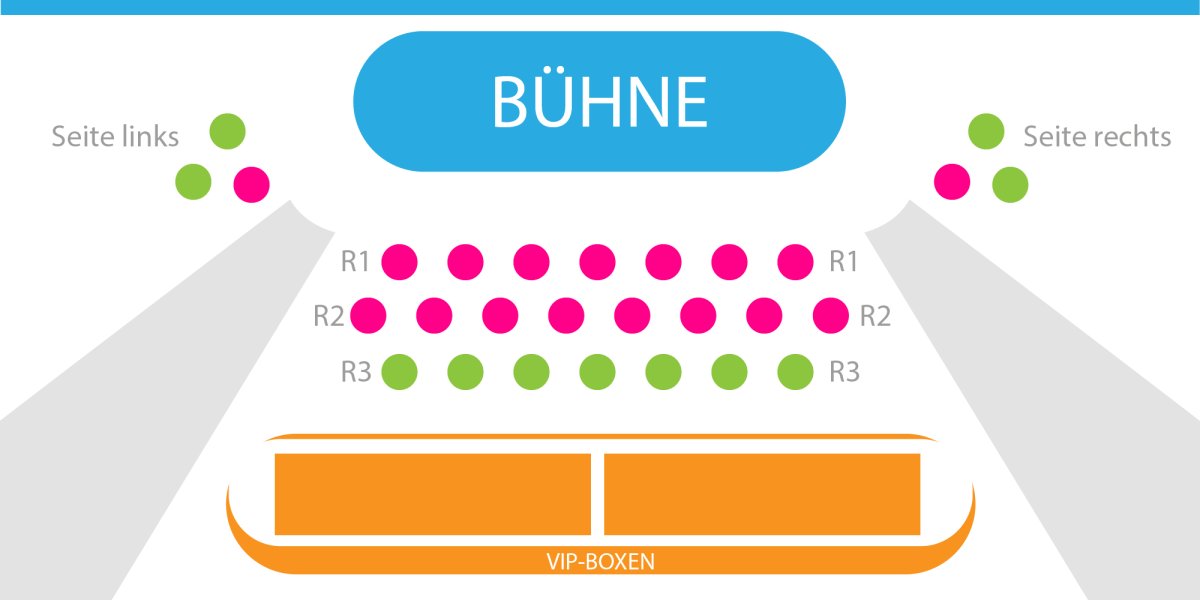
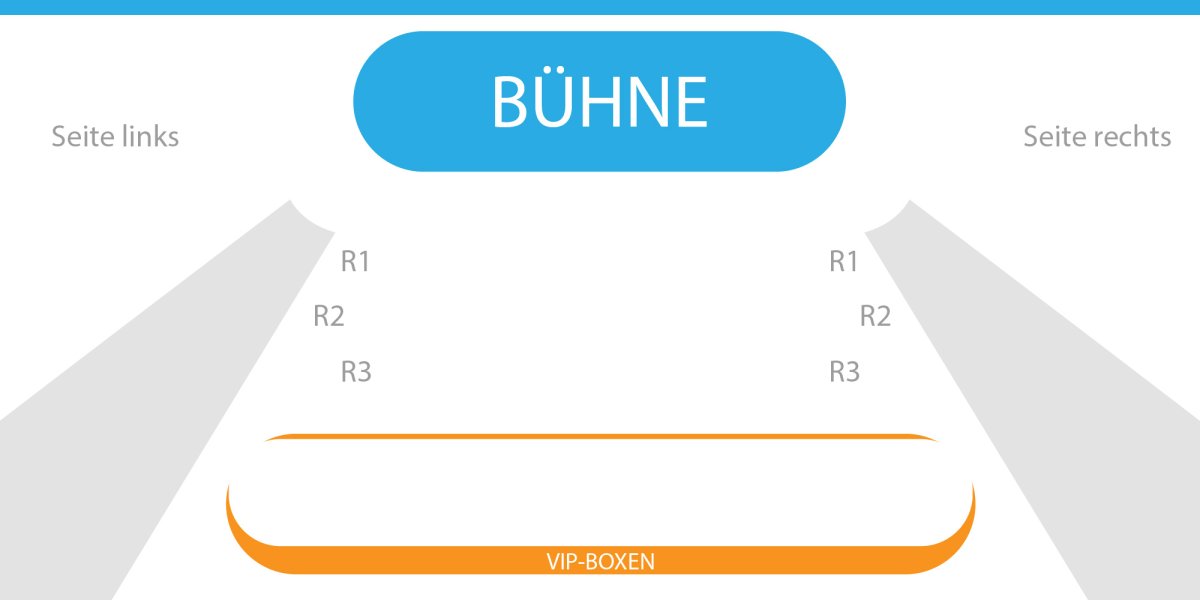
- Scroll down and upload the appropriate background image for the area.
Note: The recommended width for the background image is 2000px.
- Click “Save” in order to save your progress and then reload the page (not always necessary, but recommended depending on your browser to ensure correct display).
Add seats
To add individual seats, proceed as follows:
- Click on "Edit"
- Select the appropriate price category from the toolbar at the top
- Adjust the size of the individual spaces if necessary (example: 60x60 px)
- Choose whether the seats should be displayed as a circle or a rectangle.
- Click on the corresponding spot on the seating plan where you want to position the seat
- Following this principle, you can now create as many seats as you like in this price category
- Important: Once you have assigned all seats in this category, don't forget to click on the corresponding category again in the toolbar at the top, otherwise it will remain selected and you will assign a new seat on the seating plan with each click.
- Once you have created all desired seats, click on "Save"
Add multiple seats
If your seating plan contains many seats that follow a specific logic or pattern, you can also create them in a bulk action.
Here's how:
- Click on "Edit"
- Select the menu item “Add multiple seats” in the tool list
- In the new window, you can now define the construction rules:
- Start position x-axis: The placement of the seats starts at this point on the x-axis (value in px)
- Start position y-axis: The placement of the spaces starts at this point on the y-axis (value in px)
- How does the row go: Vertically / Horizontally
- Amount rows: Here you specify the number of rows to be created
- Amount of seats per row: Here you specify the number of seats to be created within each row
- Horizontal distance between seats: Horizontal distance between individual seats (value in px)
- Vertical distance between seats: Vertical distance between individual seats (value in px)
- Reverse the order of the seat numbers: If you activate this option, the seats will be numbered in descending order instead of ascending order (e.g. 5, 4, 3, 2, 1 instead of 1, 2, 3, 4, 5).
- Now you define the properties of the individual seats:
- Price category: Here you choose one of the price categories you've created
- Width: Width of the seat in px
- Height: Height of the seat in px
- Form: Circle /Rectangle
- Then you define the names of the individual seats:
- Once you have made all the settings, click on the “X Create seats” button
Edit position of seats
You will find several other tools in the tool list.
Here is what the various symbols mean and how they can help you edit your seating plan:
- One arrow symbol: Select one or more seats positioned on the seating plan
- Recycle bin icon: Deleting the selected seat(s)
- Four arrow symbol Move the selected seat(s) to any other location in the seating plan
- Two arrow symbol: Changing the size of the seat
- Magnifying glass icons: Zooming in and out of the seating plan
- Three dots next to each other: Align selected places horizontally in a line (only displayed if you have selected multiple seats using the selection tool)
- Three dots below each other: Align selected places vertically in a line (only displayed if you have selected multiple seats using the selection tool)
- Vertical ruler symbol: Automatically adjusts the vertical distance between the selected seats (only displayed if you have selected multiple seats using the selection tool)
- Horizontal ruler symbol: Automatically adjusts the horizontal distance between the selected seats (only displayed if you have selected multiple seats using the selection tool)
Maintain/edit information for individual seats
Once you have positioned all the seats, they will need to be given appropriate names.
Here's how to set this and other parameters for the seats you have just created:
- Click on "Edit"
- Select the selection tool (single arrow icon) from the toolbar
- Click on the corresponding seat in the seating plan
- Click on “Edit selection” in the toolbar
- In the new window, you can now maintain the following information for the selected seat(s):
- Price category: Hier kannst Du auf Wunsch die Kategorie des Platzes ändern
- Seat: Number or name of the seat
- Row: Number or name of the row that this seat is situated in
- Description: Here you can further descripe this seat, if necessary
- Available quantity: This is how often this seat is available, e. g. for areas with free choice of seating or standing room
- Minimum quantity: e. g. for couple seats
- Guests included: How many guests are allowed to attend the event when buying this ticket, e. g. if a table for 8 is booked, the number 8 should be entered here
- Once you have entered all the necessary information, click on “Apply changes”
- Then click on “Save”
- Tip: If you want to enter the same information for several seats, you can use the selection tool to select all the desired seats before clicking on “Edit selection”. This can be especially helpful if you don't want to enter the row for each seat individually.