Media gallery

How to manage your agency's image pool

Here you can find out how to use the “Media Management” module to easily create an image pool that you and your team can access for all events. Feature

Du kannst für das guestoo Back-End zwischen zwei Darstellungsoptionen wählen. Die Screenshots in der Doku basieren auf dem "Klassischen Design".
Hier siehst Du die Unterschiede, damit Du dich auch im "Modernen Design" zurecht findest: » guestoo Back-End-Design

Media gallery

Media gallery -

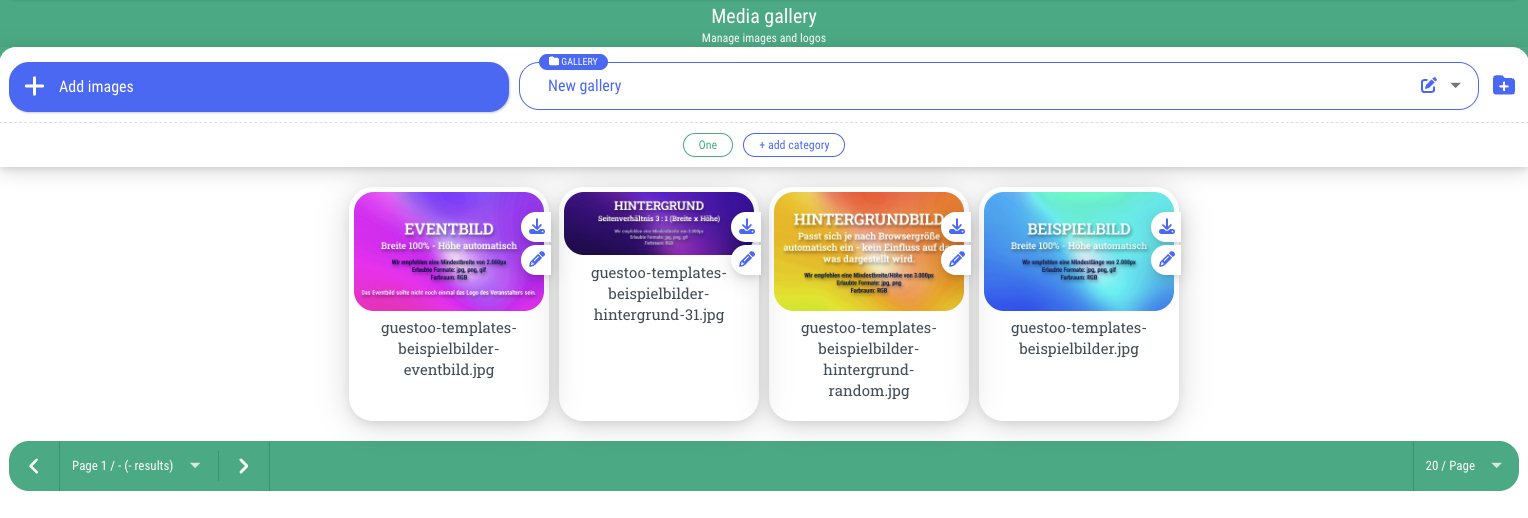
The media gallery is used to store images in guestoo that can be used agency-wide for your events.

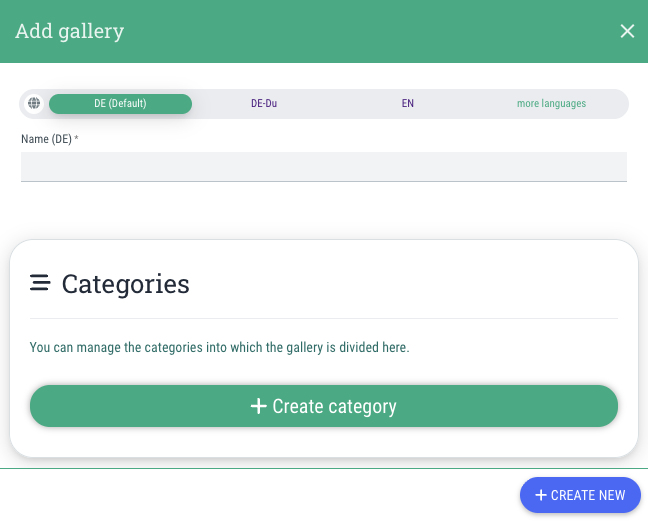
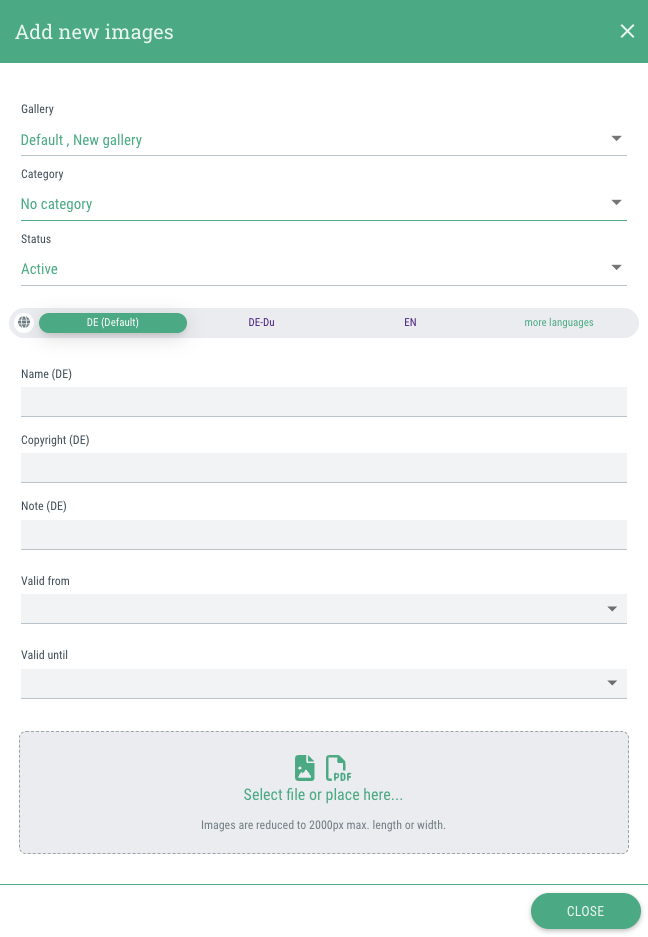
Here you can store company logos and your own images or stock photos for which you have the appropriate usage rights. You can store the copyright and validity of the usage rights directly with the image when you upload it.


The advantage of this feature is that you can provide your employees with specific images that they can use for your agency's events. That way, they don't have to upload them manually every time.

Even images that may change over time, such as company logos, can be easily updated for all events where they are used by simply replacing the image.


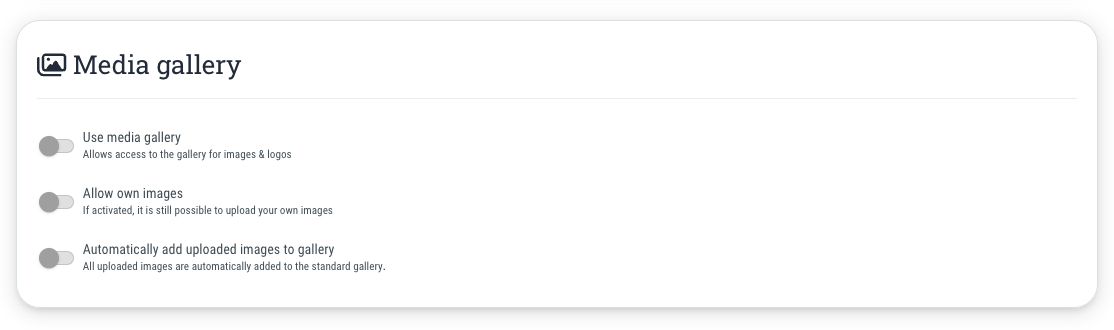
Further information about the required feature that you need to add in order to use the media gallery's functions to their full extent can be found on this site.

Create gallery

Create gallery -

You can create different galleries to sort the images in your agency's media gallery.


Here's how to create a new gallery:

  • Go to the menu item "Media gallery"
  • Click on the small folder symbol in the top right corner
  • In the dialog window, enter a name for the new gallery
  • If desired, you can create additional categories by clicking on “+ Create category” to further subdivide your galleries.
  • Enter the desired name here as well
  • Once you have decided on a name for the gallery (and created all the categories you want), click on “+Create new” in the bottom right corner.

Upload images

Upload images -

This is how you can add images to your media gallery:

  • Go to the menu item "Media gallery"
  • Click on the button "+ Add images" in the top left corner
  • In the dialog window you have the following setting options:
    • Gallery
      Select the gallery to which the images should be uploaded. If you do not want the images to be assigned to any gallery you have created, simply select “Default.”
    • Status
      • Active:
        The images can be used.
      • Inactive:
        The images cannot currently be used by manager users for events. You can use this status to remove images that have already been uploaded from the catalog of available images or to prepare images.
    • Name
      Here you can assign a name to the images you upload. You can also leave the field blank - the images will then retain the name of the uploaded file.
    • Copyright
      Enter the copyright or author of the images here, if available.
    • Note
      Here you can add further comments about the images if you wish, such as notes about where the images should/may be used.
    • Valid from
      Here you can specify from which point in time the images may be used. This can be helpful if your license to use the images is restricted or if a particular logo is only to be used from a certain point in time. If you leave the field blank, there will be no time restriction.
    • Valid until
      Here you can specify until which point in time the images may be used. This can be helpful if your license to use the images is restricted or if a particular logo is only to be used until a certain point in time. If you leave the field blank, there will be no time restriction.
    • Images
      Finally, you need to add the images themselves. Either select them using the system dialog or drag them directly from the folder into the browser window.
  • Then click on “Close” in the lower right corner to apply the settings.

Agency settings

Agency settings -

In the agency settings, you can also specify a few things regarding the handling of images in your media pool.

Here's how:

  • Go to the menu item "Agency"
  • Switch to the tab "Settings"
  • Scroll to the section "Media gallery"
  • Click on "Edit"
  • You now have the possibility of (de-)activating the following options:
    • Use media gallery
      If you activate this option (=Toggle on green), all manager users with access to the media gallery can access it to use the images for events. If the option is deactivated (=Toggle on red), both the “Media gallery” menu item and all related functions are inactive.
    • Allow own images
      If this option is enabled (=Toggle on green), users can continue to upload their own images to the event. If the option is disabled (=Toggle on red), only images from the media gallery can be used for the events.
    • Automatically add uploaded images to gallery
      If you activate this option (=Toggle on green), images that you upload to the event will automatically be added to the media gallery. If the option is deactivated (=Toggle on red), the image will only be saved at the corresponding location in the event.
  • Once you have adjusted the settings, click on "Save"

Optional: Create manager user for media management


If you want to create a manager user who is only supposed to manage the media gallery but otherwise has no access to your agency's events or settings, you can do so as follows:

  • Go to the menu item "Agency"
  • Switch to the tab "Users"
  • Click on the button "+Add manager user"
  • Enter the email address of the person who should be responsible for media management in the field
  • Under "User role" choose the role "Event-related manager"
  • Activate the option "Manage media gallery" (=Toggle on green)
  • If necessary, customize the invitation text for the manager user.
  • Click on "Invite"

The person will now receive an invitation as a manager user via email, where they can set their password for manager access.


Important note

It is not strictly necessary to create a separate manager user for this purpose. All manager users (except for event-related managers) have the right to access the media gallery. You can also assign the “Manage media gallery” permission to event-related managers retrospectively in the “Users” tab of the agency settings.