

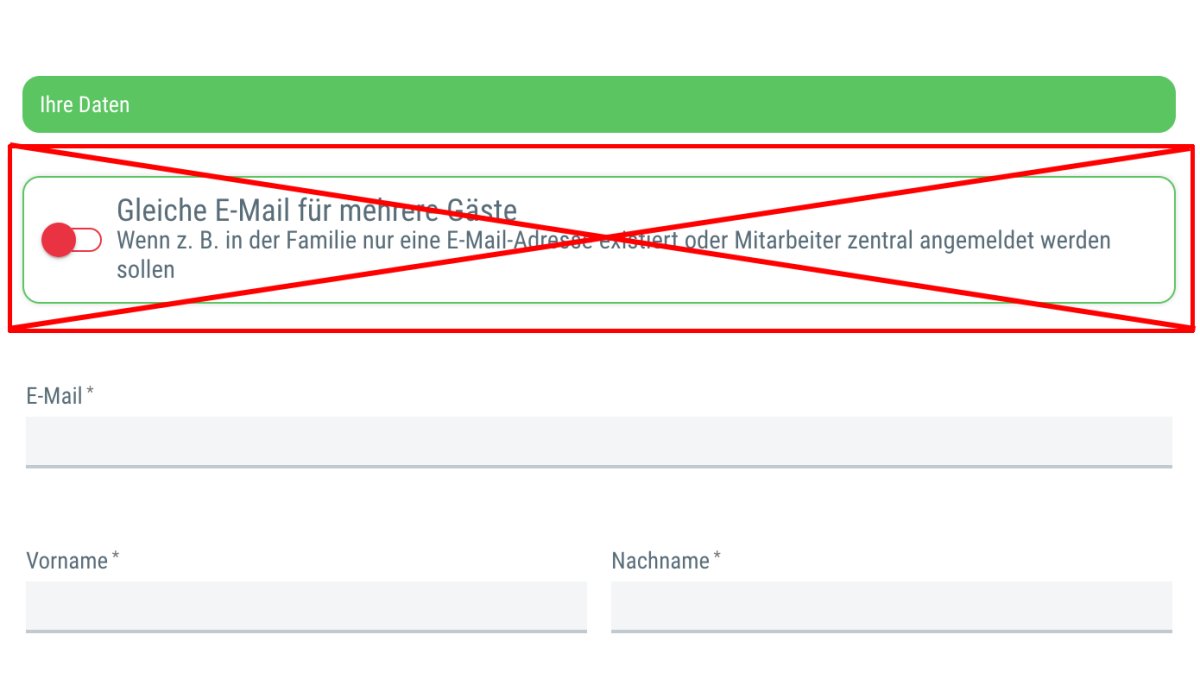
Copy the code below into the Design tab > Section: "Event microsite & registration form: Overwrite CSS"
- .deputy_mail {display: none !important;}
Here you’ll find useful HTML and CSS snippets to further customize your guestoo event page.
Simply copy the snippets into the CSS or HTML fields (microsite or registration form) under the “Design” tab.
The ability to embed your own CSS or HTML code depends on your chosen subscription plan.
Feature: Add HTML/CSS to event page
 Du kannst für das guestoo Back-End zwischen zwei Darstellungsoptionen wählen. Die Screenshots in der Doku basieren auf dem "Klassischen Design".
Copy the code below into the Design tab > Section: "Event microsite & registration form: Overwrite CSS"
This code always displays the background image in its entirety. Instead of using the value 56.34%, you need to divide the height of your image by its width and then multiply by 100 to get the percentage.
The actual event image is hidden.
In order to hide the note indicating the deadline for signing up for the event, insert the following code snippet under “Event microsite & registration form: Overwrite CSS”:
If you want to hide the quotation marks before the intro and info texts, add the following code snippet under “Event microsite & registration form: Overwrite CSS”:
If you want to hide the country field in address fields, add the following code snippet under “Event microsite & registration form: Overwrite CSS”:
In order to hide the “No selection” reset field for time slots, add the following code snippet under “Event microsite & registration form: Overwrite CSS”:
To ensure that the time slots appear at the very top of the registration form, add the following under Event/Agency > Design > CSS for the event page, event overview page, and iFrame:
.framedInputs .visitor-choice-box-text {
order: -3;
}
.framedInputs .visitor-choice-box,
.framedInputs .visitorCountTwoPersons {
order: -2;
}
.framedInputs .type-TIMESLOT{
order: -1;
}
.framedInputs .userAccountContainer{
order: -4;
}
guestoo passes the guest's status as a class to the body of the event microsite. This allows you to customize the appearance of the event page even more precisely based on the guest's status.
The following classes are added to the body (only one at a time):
ATTENTION: This is not a secure way of hiding important information. Elements hidden using “display: none” can still be viewed if you know how.
/* Boxes */
.TEMPLATE_4 #content-sections .type-BUTTON .section-item a.section-cta-button,
.TEMPLATE_9 #content .mainInfos .event-image-inside,
.TEMPLATE_9 #content .mainInfos .event-details-header,
.TEMPLATE_9 #content .mainInfos .more-content.agency-details,
.TEMPLATE_9 #content-sections .type-IMAGEONLY,
.TEMPLATE_9 #content-sections .type-HEADLINE,
.TEMPLATE_9 #content-sections .type-IMAGEONLY .section-item,
.TEMPLATE_9 #content-sections .type-IMAGEONLY .section-item .section-content,
.TEMPLATE_9 #content-sections .type-IMAGEONLY .section-item .section-content:after,
.TEMPLATE_9 div.teaser-tabs-wrapper,
.TEMPLATE_9 #content .mainInfos .more-content,
.TEMPLATE_9 #content-sections .type-COLLAPSIBLE,
.TEMPLATE_9 #content-sections .type-EXPLANATION,
.TEMPLATE_9 #content-sections .type-MULTI_IMAGE,
.TEMPLATE_9 #content-sections .type-MULTI_FILE,
.TEMPLATE_9 #content-sections .type-MULTI_FILE,
.TEMPLATE_9 #content-sections .type-EVENT_ACTIONS,
.TEMPLATE_4.TEMPLATE_9 #content-sections .type-REGULAR,
.TEMPLATE_9 #content .mainInfos .event-details-header,
.TEMPLATE_4.TEMPLATE_9 #content-sections .type-TEXTONLY,
.TEMPLATE_4.TEMPLATE_9 #content-sections .type-HTML,
.TEMPLATE_4.TEMPLATE_9 #content .mainInfos .event-description {
border-radius: 0px !important;
}
/* Buttons */
.TEMPLATE_9 .gastMenge-choices .choice,
.TEMPLATE_9 .message-default .callToAction-list li a,
.TEMPLATE_9 .info-message,
.TEMPLATE_9 .framedInputs .label-special,
.TEMPLATE_9 #content .sideInfos a.callToAction,
.TEMPLATE_9 .registerCallToAction-button {
border-radius: 0px !important;
}
Copy the code below into the Design tab > Section: Event microsite & registration form: Overwrite CSS in BOTH fields:
Copy the code below into the Design tab > Section: CSS Microsite AND CSS Login Form:
Note: You can hide the language switcher in the ”Design” tab of your event. For more information, see our documentation.
Design > Event microsite & registration form: Overwrite CSS > CSS for event, code entry and cancellation page
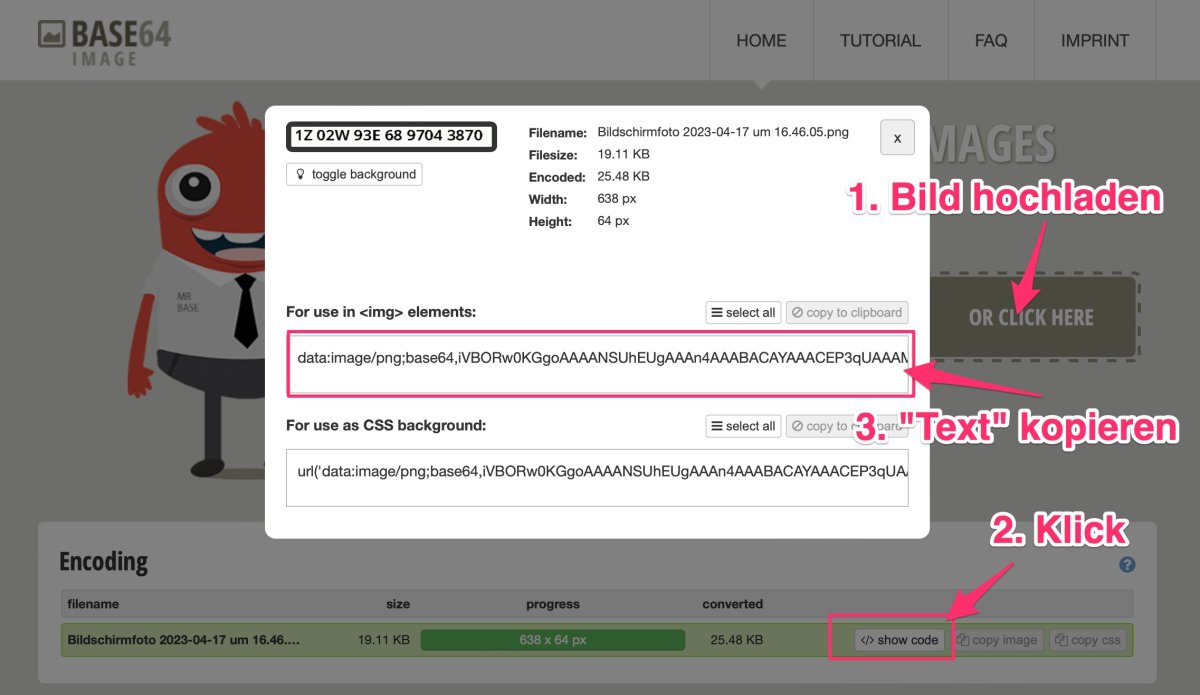
In guestoo's standard emails, we embed the event/header image and the logo directly into the email and link to all other images, resulting in the recipient often having to click on a link in their email program to load these linked images.
We do this because the emails would otherwise become too large. However, you can embed your own images into your emails via Section > HTML or directly into the email text using HTML tags. Here’s how:
Design > Event microsite & registration form: Overwrite CSS > CSS for event, code entry and cancellation page
Display the net price on the registration form:
/* NETTO STATT BRUTTO */
.ticketNetPrice {
	display: inline-block;
}
.ticketGrossPrice {
	display: none;
}
/* Schriftgröße und Farbe anpassen */

.ticket-price-table tr.total td {
	font-size: 12px;
	line-height: 12px;
}
.ticket-price-table tr.mwst.nettprice td {
font-size: 15px;
line-height: 15px;
color: red !important;
}
.ticket-price-table tr.total td {
color: lightgrey !important;
}
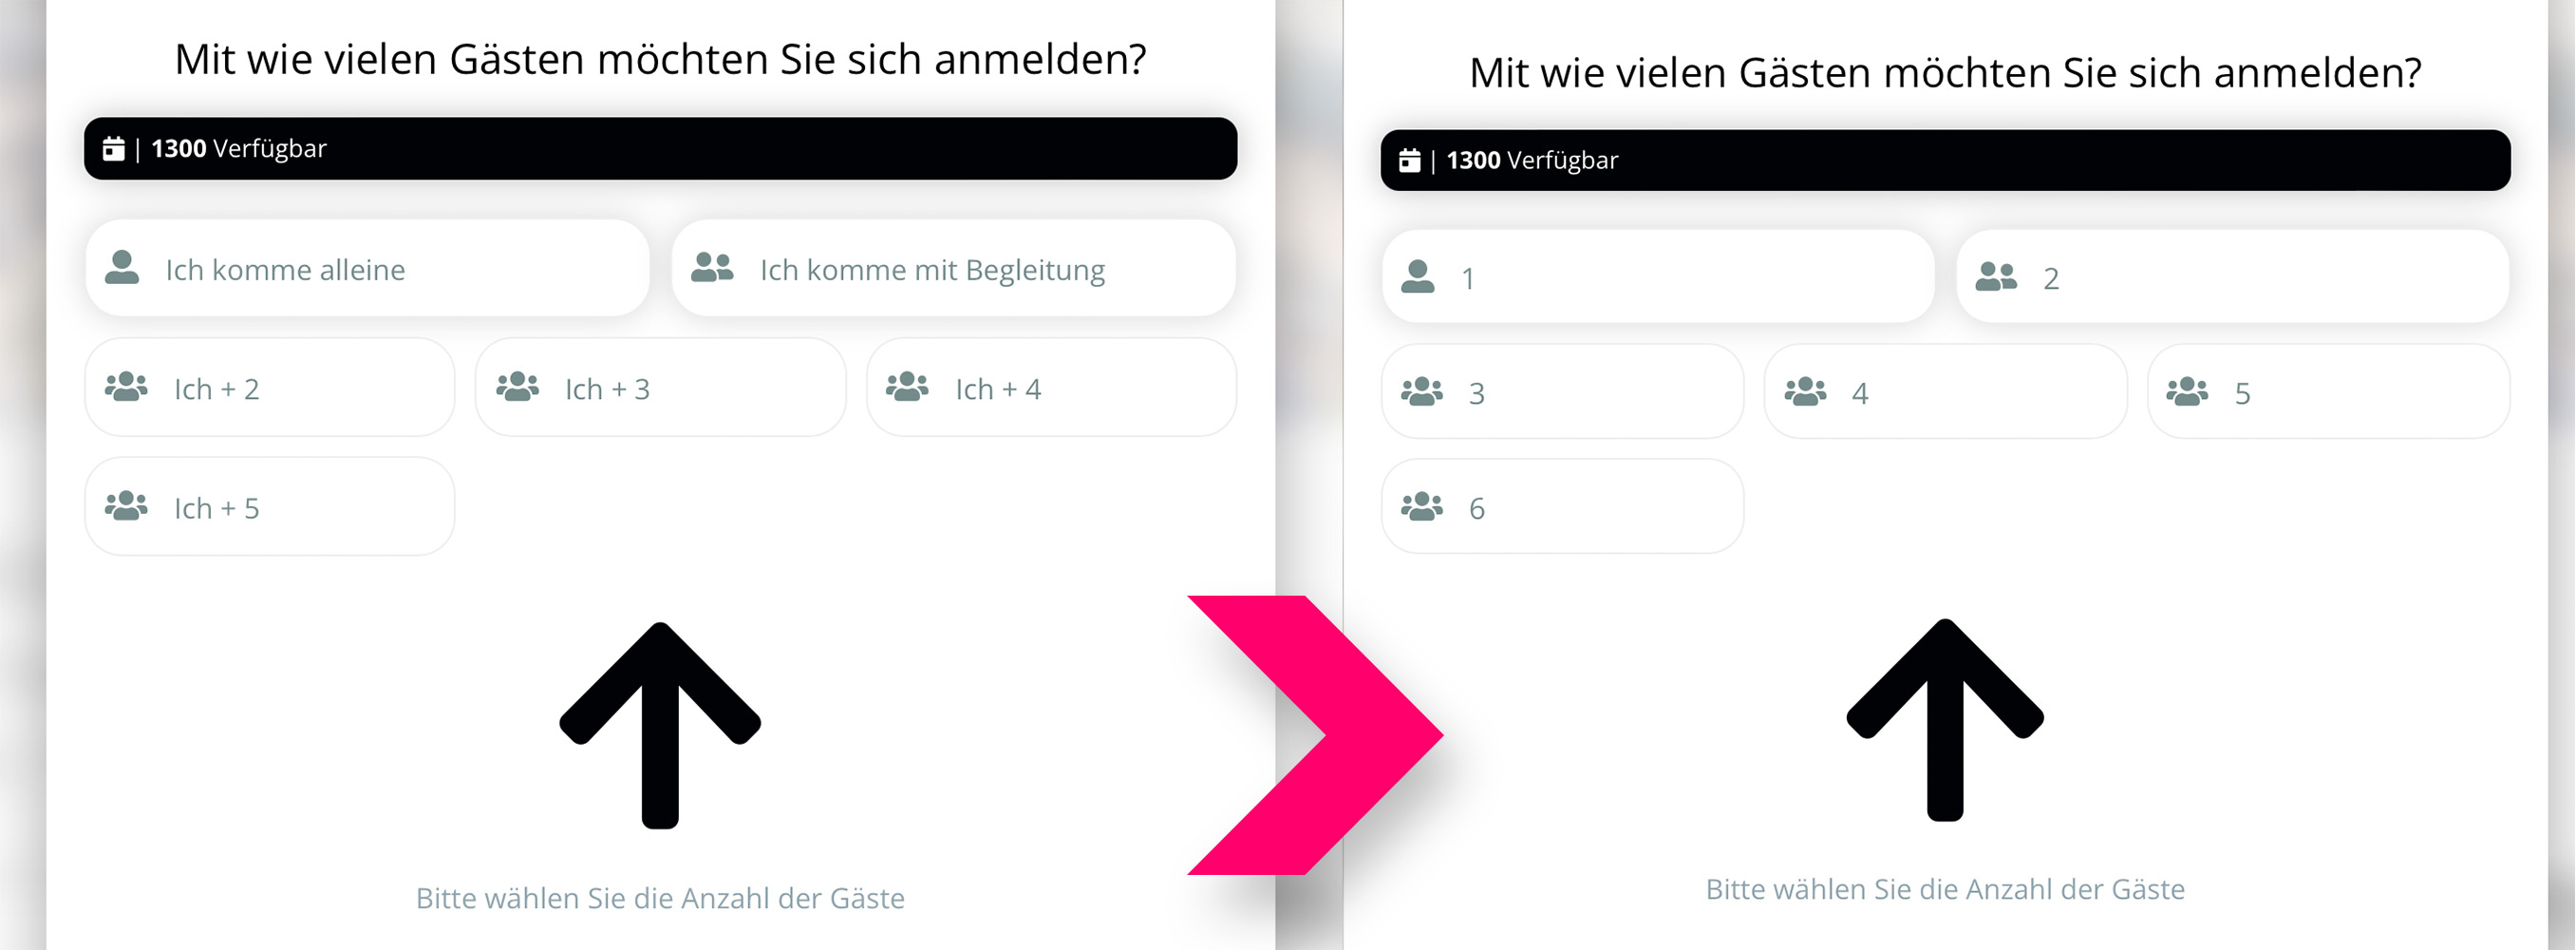
Add the following to the CSS:
.accompanying-plus-number {
display: none !important;
}
.number-without-accompanying {
display: inline-block;
}
#content .mainInfos .agency-details h2 {
display: none;
}
#content .mainInfos .agency-details .header-label {
font-size: 28px;
line-height: 28px;
padding-bottom: 20px;
}
#content .mainInfos header p.introtext {
font-size: 20px;
line-height: 24px;
}
You can use this CSS snippet in order to hide the Google Maps button on the event microsite:
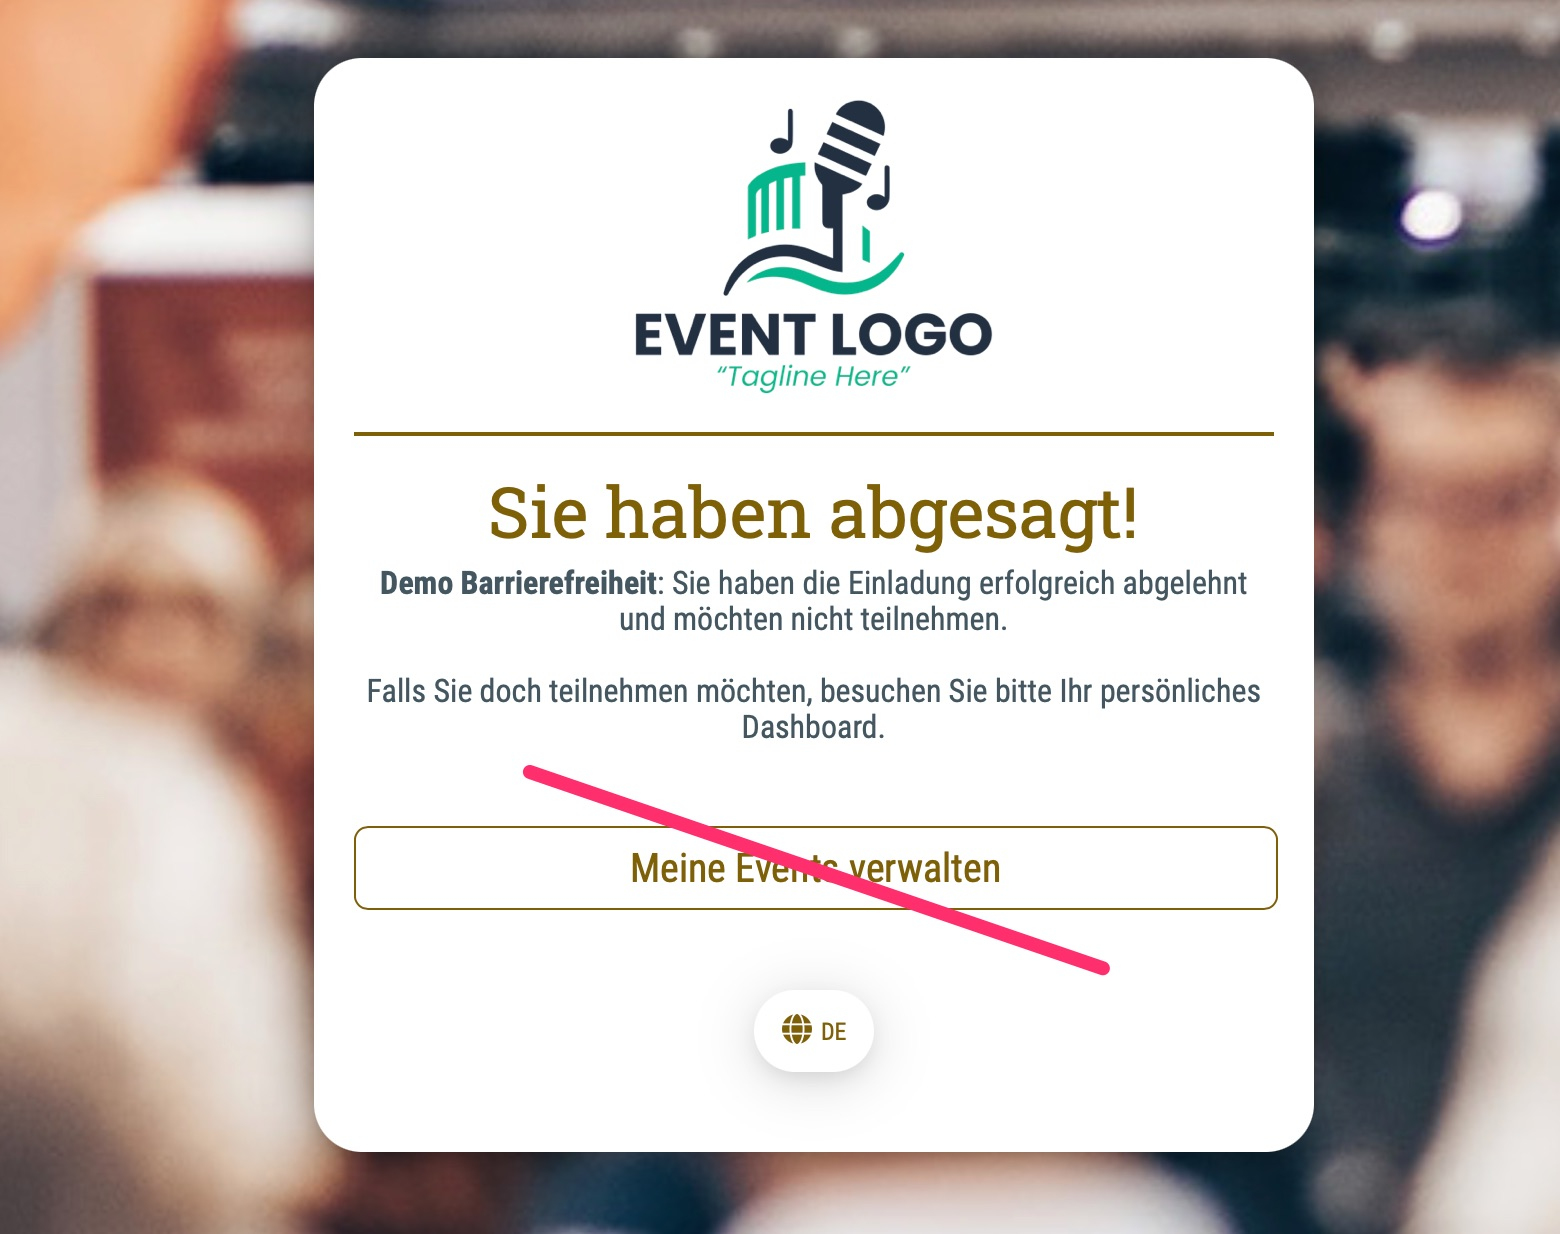
Hide the “Go to Guest Dashboard” button on the confirmation page after cancellation:
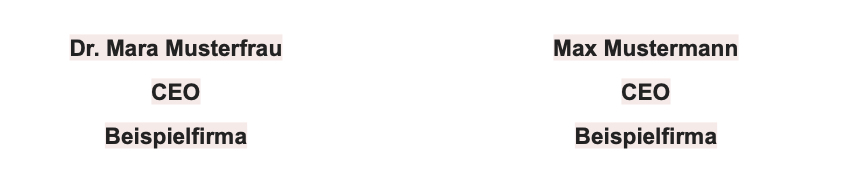
If you want to create a two-column layout in your email, create an HTML section in your mailing and use this HTML snippet. It also works if you insert it into default email text:
<table class="container" border="0" cellspacing="0" cellpadding="0">
<tr>
<!-- Linke Spalte -->
<td class="column">
<p class="name">Dr. Mara Musterfrau</p>
<p class="title">CEO</p>
<p class="company">Beispielfirma</p>
</td>
<!-- Rechte Spalte -->
<td class="column">
<p class="name">Max Mustermann</p>
<p class="title">CEO</p>
<p class="company">Beispielfirma</p>
</td>
</tr>
</table>
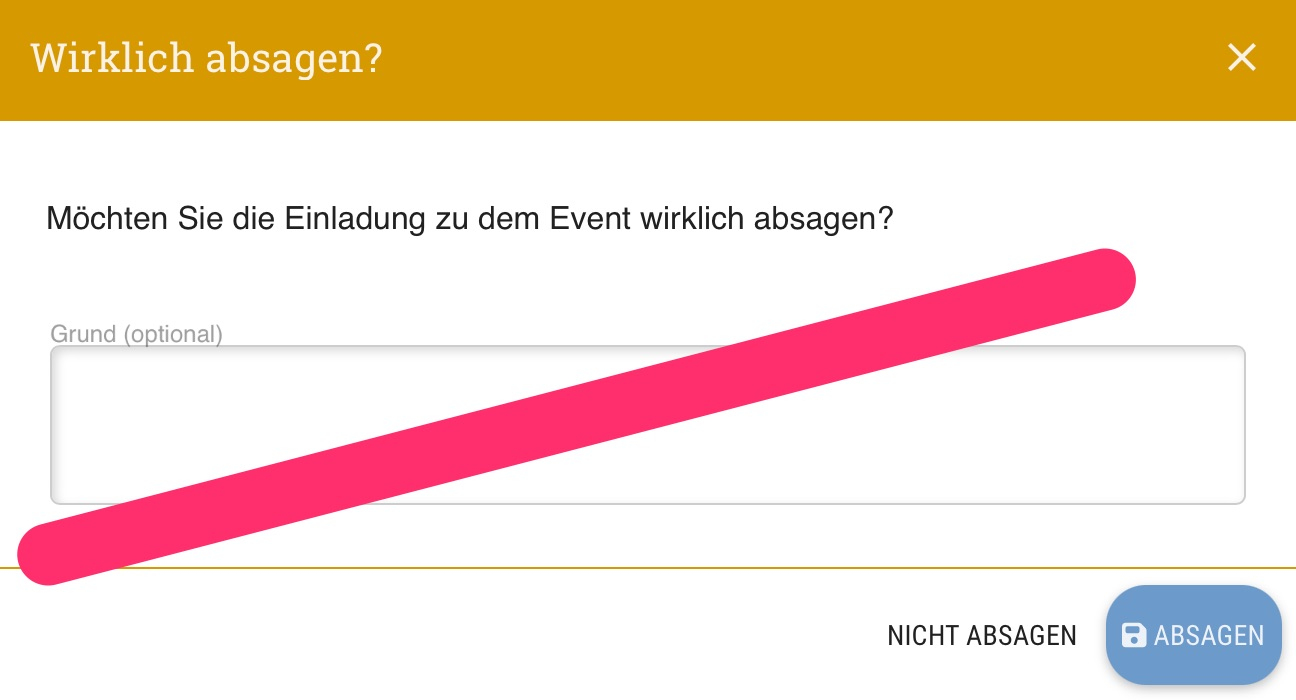
Add the following to the CSS:
.guestDecline-reason {display: none !important;}
Hides the entire header section, including the logo and menu (mobile and desktop views):
.mainNav { display: none !important};#page-header, #page-header-spacer {display: none;}