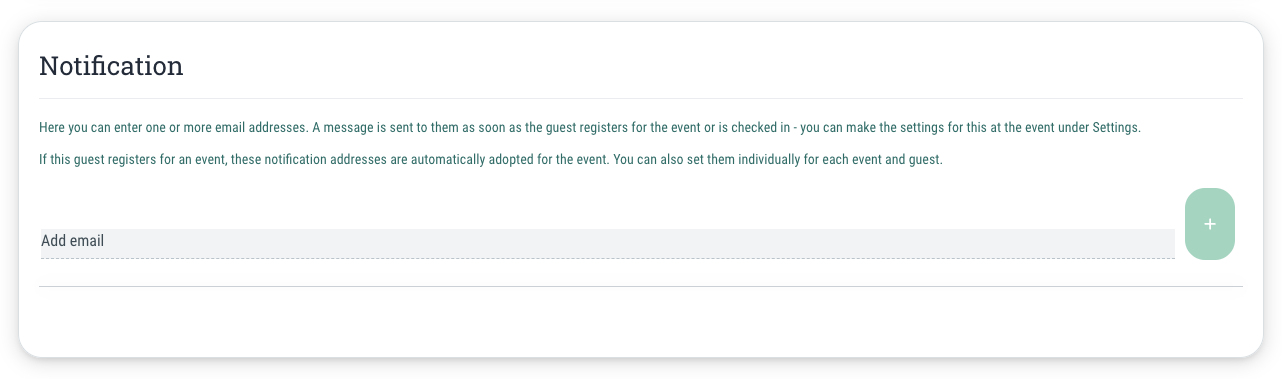
Here you can enter one or more email addresses. A message will be sent to these addresses as soon as the guest registers for or checks in at the event – you can configure this setting in the "Settings" tab of the event.
If this guest registers for an event, these notification addresses will automatically be used for the event. However, you can also set them individually for each event and guest.
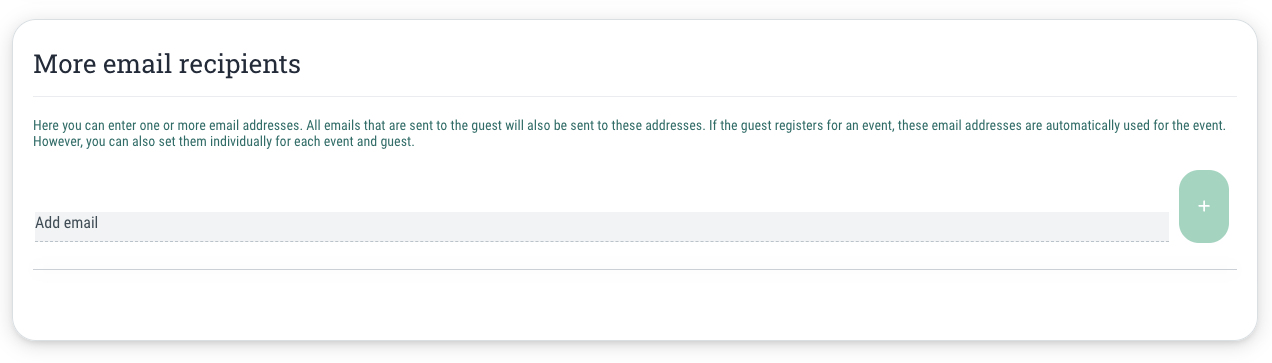
In order to add another email address to be notified, proceed as follows:
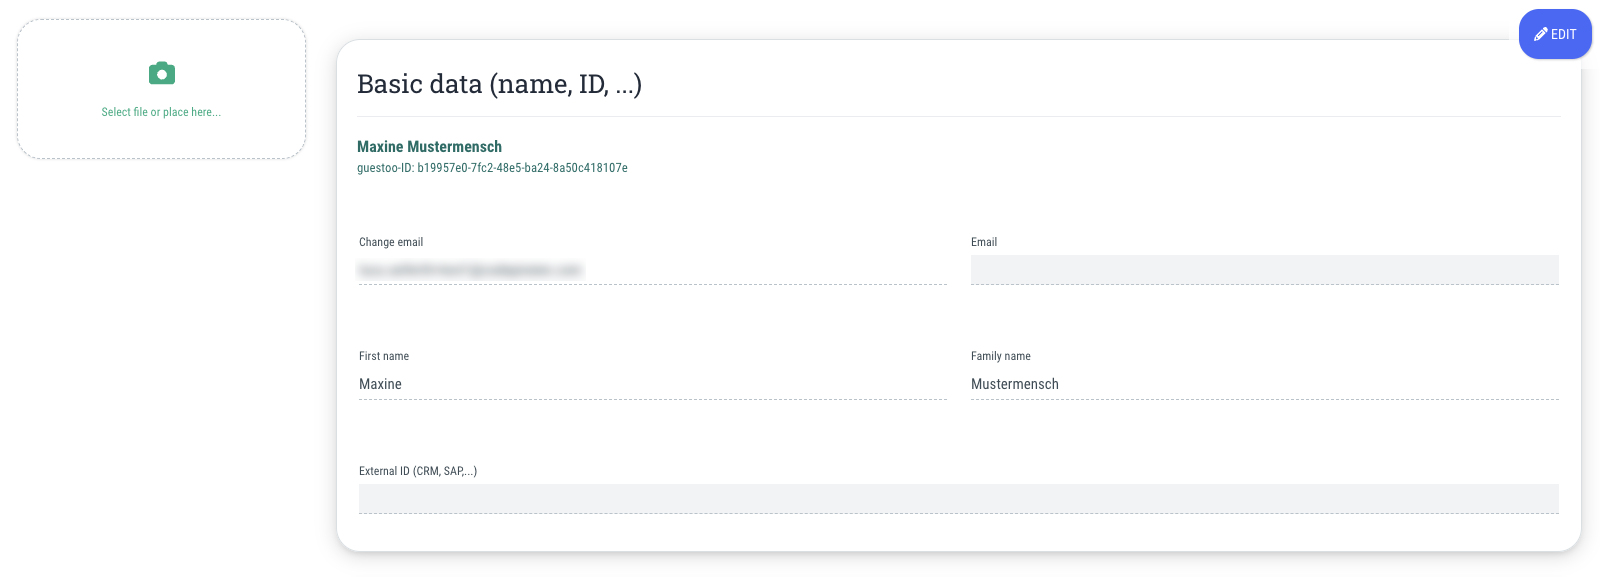
- Click on the "Edit" button in the top right corner
- Enter the desired email address
- Click on the + button
- (Optional) If desired, activate the option "Apply or overwrite recipients for all active events"
- Click on the "Save" button in the top right corner
- Done!
- Note: In order to remove a previously added recipient, click on the minus symbol next to the desired email address