Simple event

Set up a simple event which your guests can sign up for

In this tutorial you'll learn how to set up a simple event with guestoo.

Du kannst für das guestoo Back-End zwischen zwei Darstellungsoptionen wählen. Die Screenshots in der Doku basieren auf dem "Klassischen Design".
Hier siehst Du die Unterschiede, damit Du dich auch im "Modernen Design" zurecht findest: » guestoo Back-End-Design
Requirements

In order to set up your first event with guestoo, we advise you to complete the following steps first: 

  • You have already signed up for your own account and confirmed your registration by clicking the link in the email we sent you
  • Your agency has been set up. See tutorial

1. Create event

1. Create event -

In order to create your event, click the "Events" button in the menu bar above.

If you've never set up an event with guestoo before, the event overview will be empty. In order to change that, click on the "+Create event" button in the top left corner.

2. Define basic data

2. Define basic data -

You will now be redirected to a new page.

Event or template

Select whether you want to create an event or an event template.

  • Event:
    An event can be used productively and guests will be able to sign up for it. We recommend using this option for all events that you want to actively use, even if the registration isn't open yet.
  • Template:
    Templates are mainly used to create event prototypes with the most important default data and settings. With the help of an event template, you'll be able to create multiple similar events. We recommend to only use templates for this purpose, because guests can not sign up for an event template.

We choose the option "Event" for our example, because we want to create an event that guests can actively sign up for.

What

Enter the basic data for your event:

  • Name

    The name of the event is public and will be shown to the guests and used in your internal event overview. Choose a name that will make sense for both you and your guests.

    Examples: Code Piraten summer party, Christmas party of the Code Piraten GmbH, Yoga workshop for beginners...

  • Subtitle

    Here you can add a subtitle to further explain your event.

    Example: "This workshop is suitable for beginners."

  • External event-ID

    Here you can add an external event ID, that you use for your event outside of guestoo, if applicable. The external event ID is not visible for guests, it's only used in the back-end for your internal administration.

  • Event image
    Upload an image to make your event look more appealing. This could be your company's logo, a picture or a graphic that has been specifically created to promote the event.

You can find further information on this and the additional data you can define in the "Info" tab of your event on this page.

3. Choose event type

3. Choose event type -

This is where you decide if you want to create an event that is free of charge or if there will be paid tickets.


Free of charge event

  • Your guests can sign up for the event free of charge
  • You can still send your guests an admission ticket which can be used to check them in at the venue
  • There is only one category of guests

Paid tickets

  • Your guests have to choose at least one ticket when signing up
  • A ticket can have the price of 0€
  • There can be multiple ticket categories with different prices

Further information regarding the event type can be found here.


In order to keep things easy for our first simple event, we choose the type "Free of charge event" for this tutorial. 

4. When & where


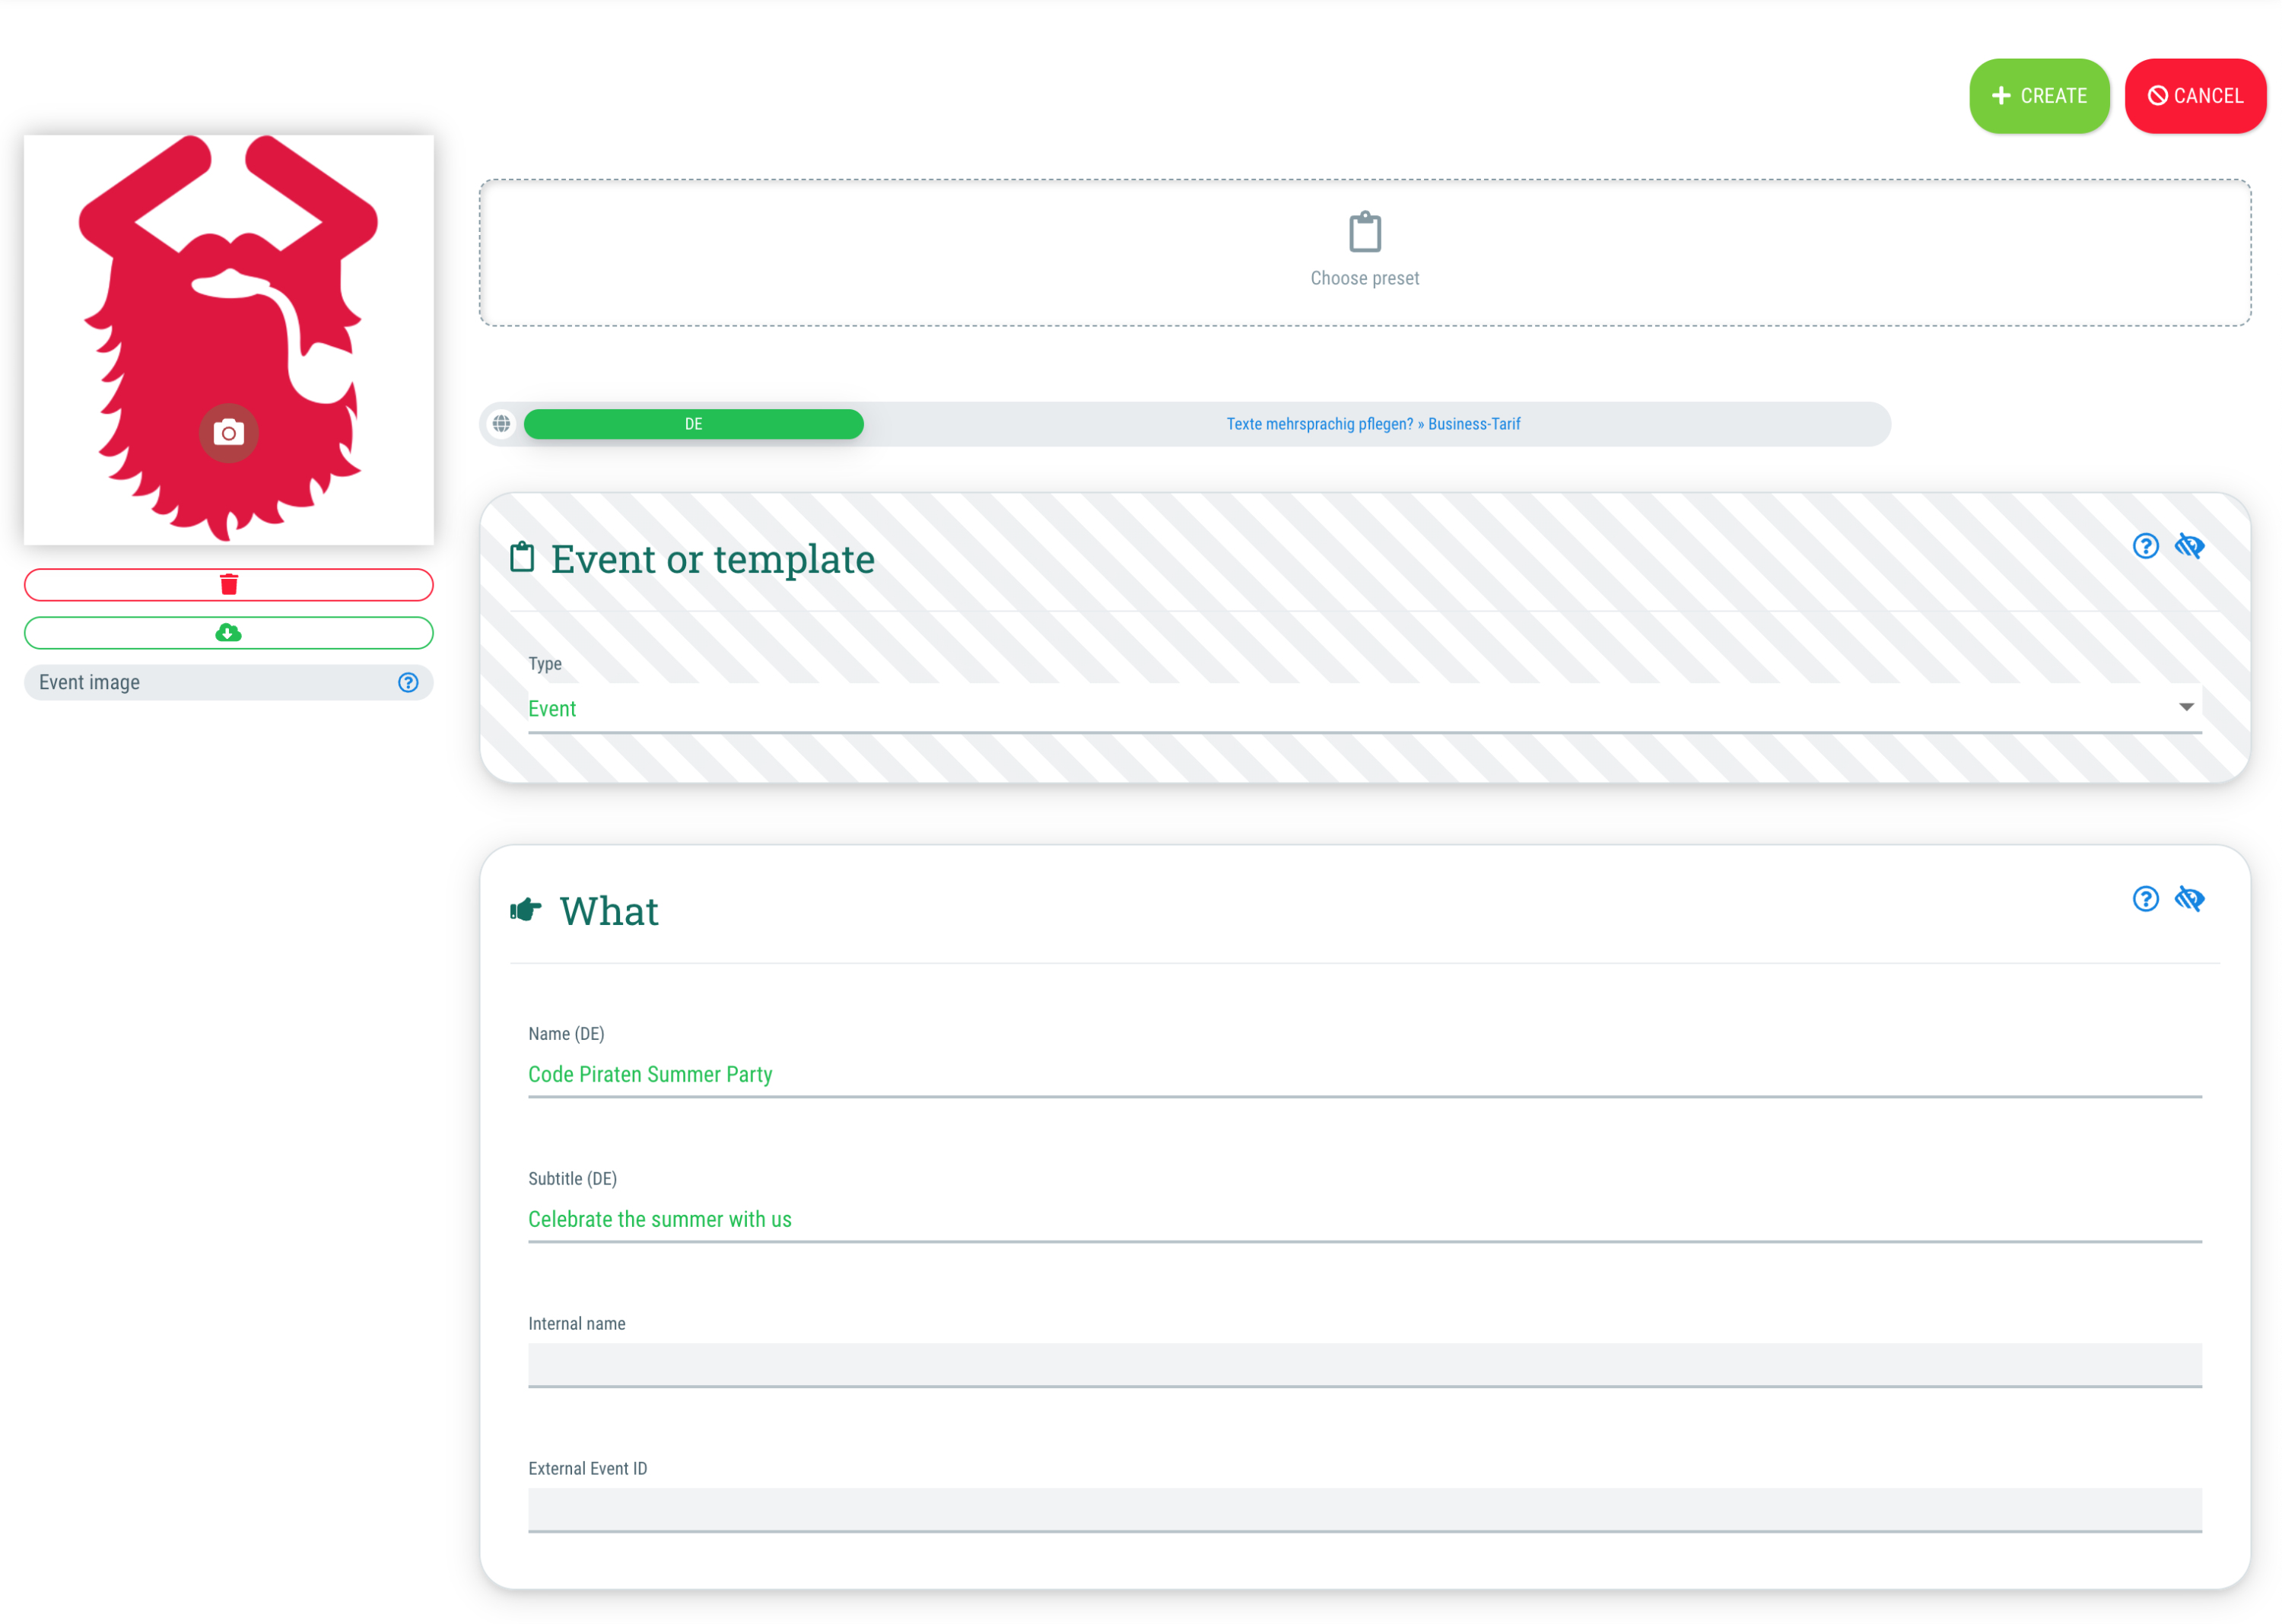
Now it's time to let our guests know when and where the event is supposed to take place.

When

In the "When" section you can choose the date and start time of your event. If you want to, you can also choose the date and time of the event's end or choose the option "Open End".

Warning: Your event needs to have at least a start date and time (unless you choose the option "Event has no date" - otherwise there will be an error once you click on the "+ Create" button!


Further information regarding the "When" section can be found here.
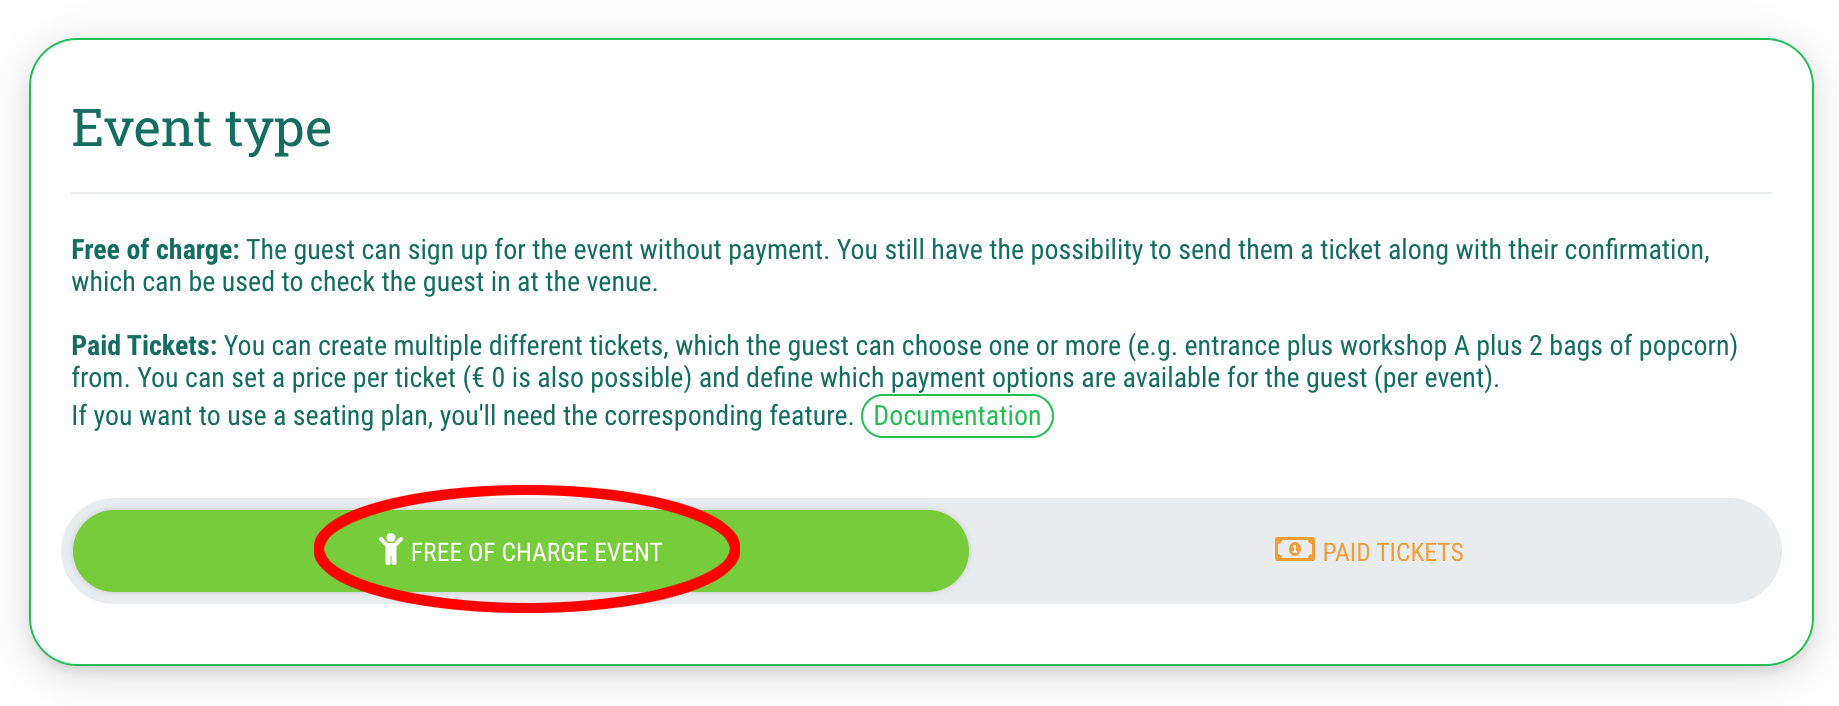
Type of event

The default setting in the "Type of event" section is usually "On location event". We'll keep this setting for our tutorial, but feel free to choose " Online event" or "Hybrid event" if it suits your purposes.


Further information regarding the "Type of event" section can be found here.

Where

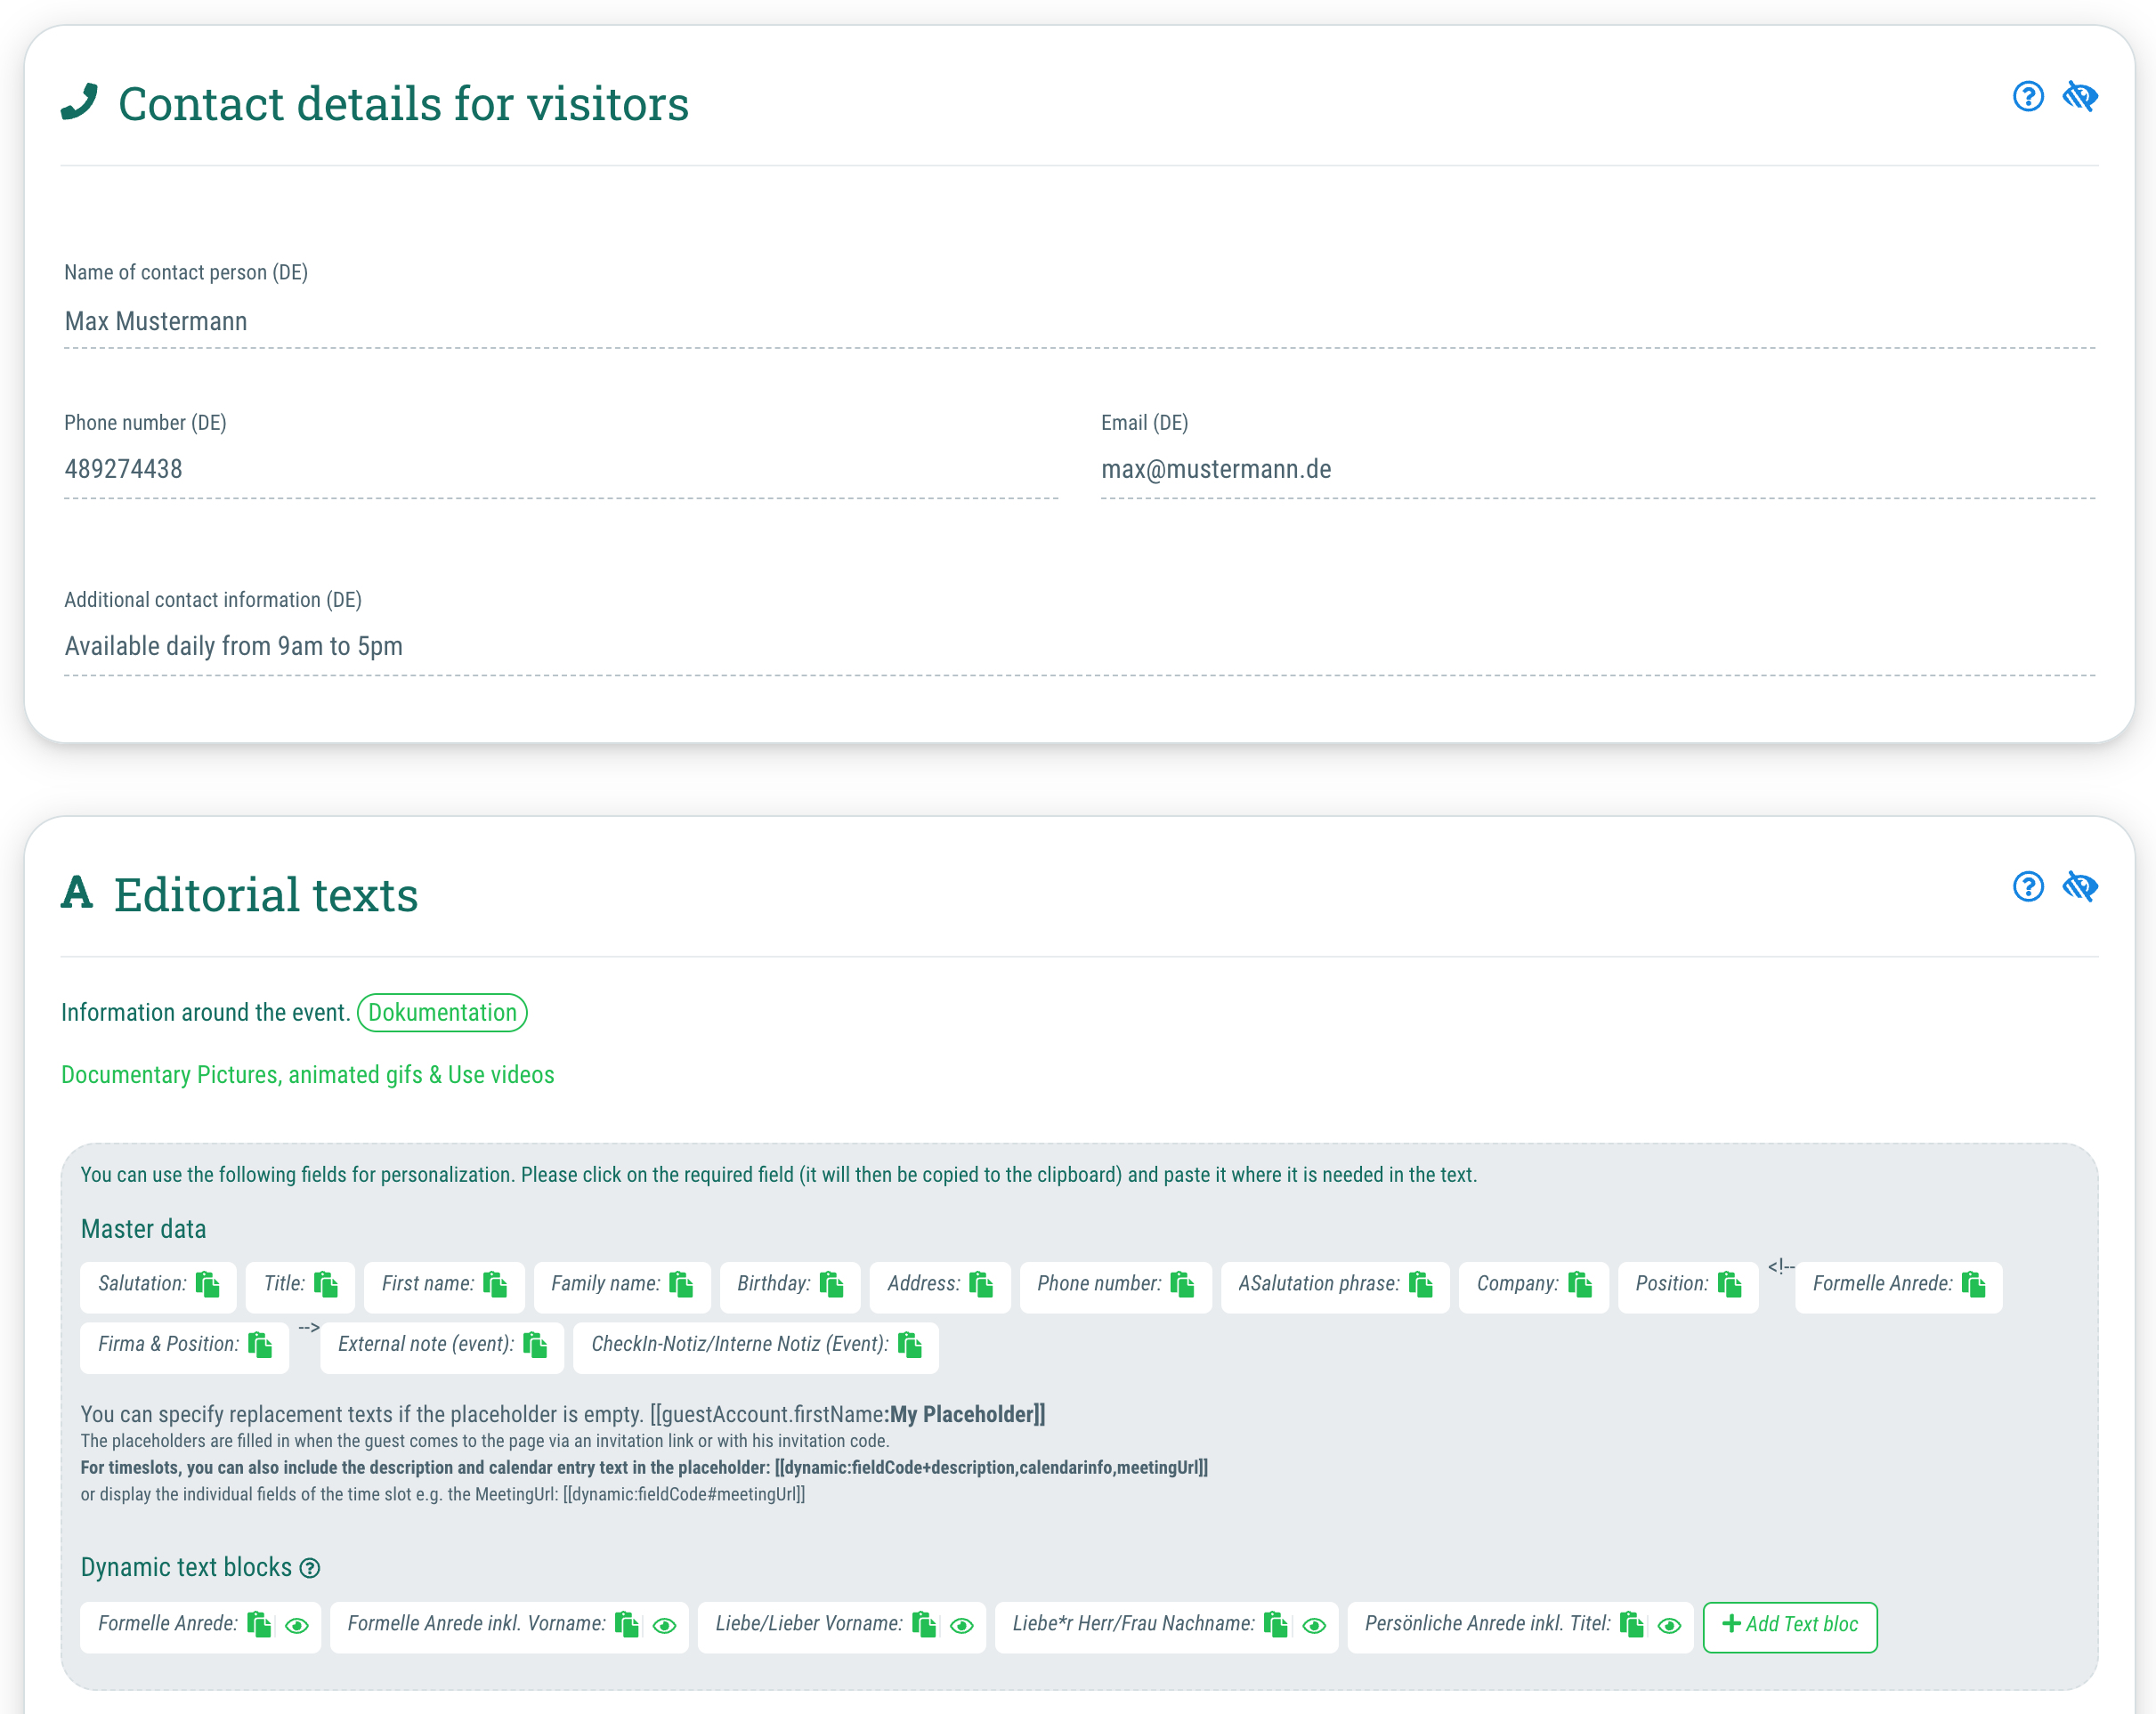
The "Where" section is used to enter the address of the venue, where the event will take place. You can use the "Additional information" field to give your guests further information regarding the parking situation or other advice regarding the venue.


Further information regarding the "Where" section can be found here.


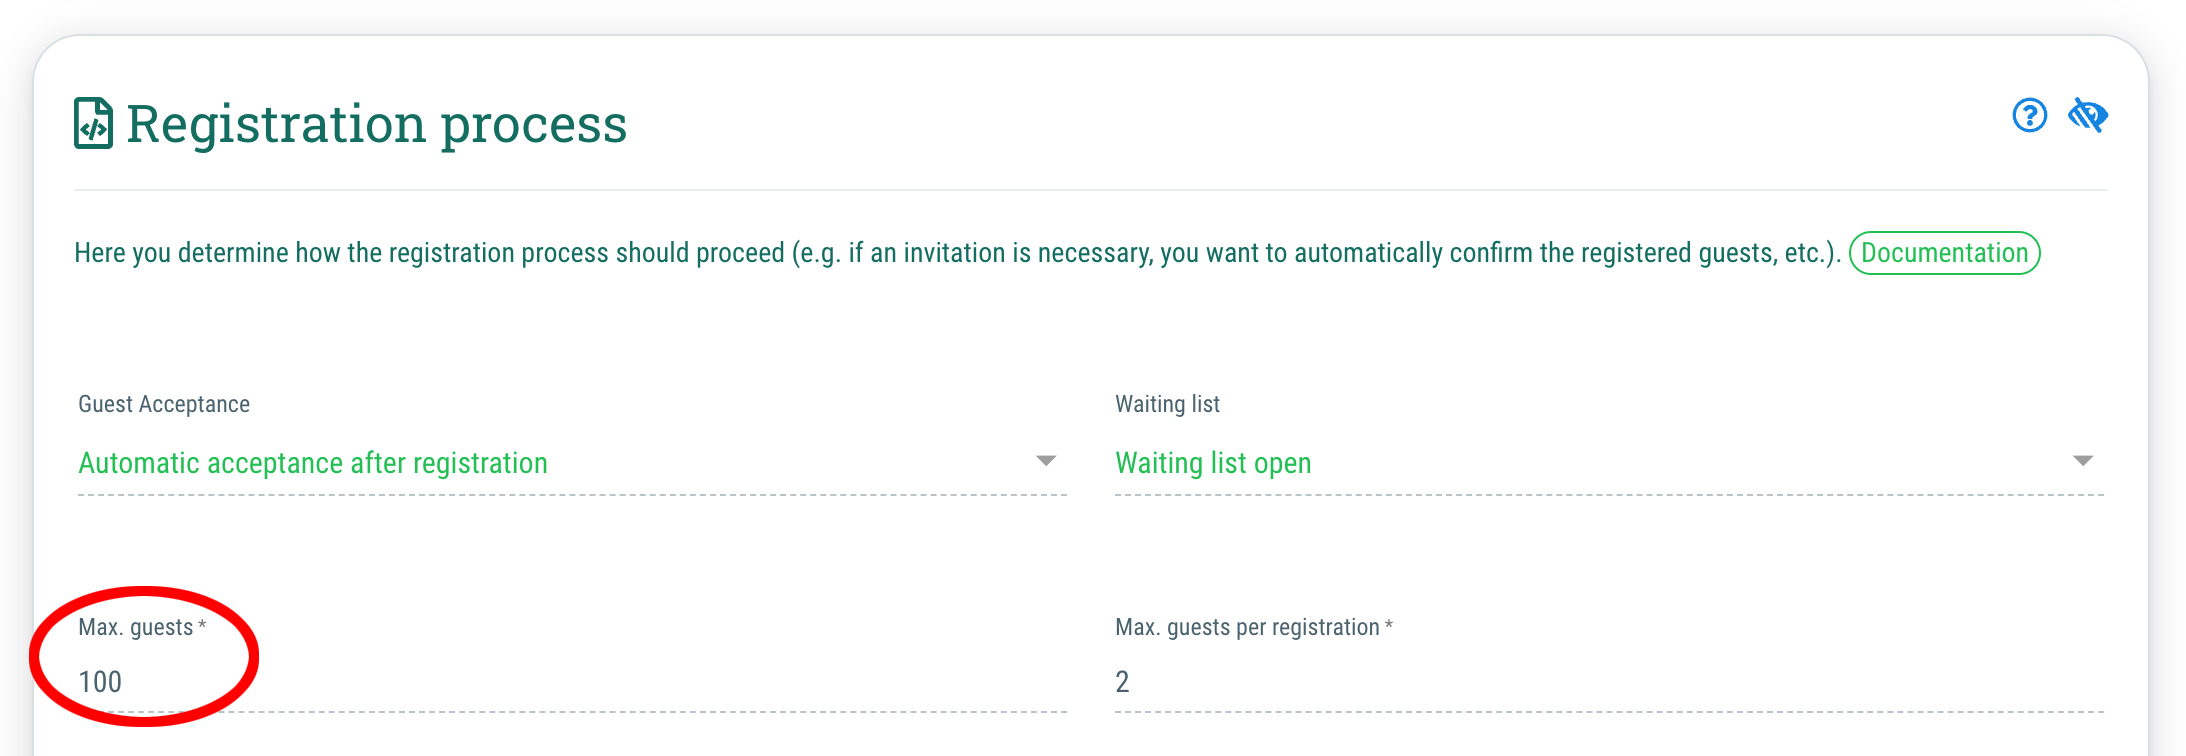
As soon as you have entered this basic information, you can click on the "+ Create" button on the top right corner in order to save your settings!

5. Contact data & editorial texts

5. Contact data & editorial texts -

As soon as we've created our new event, a few more sections will appear in the "Infos" tab. In order to edit these, click on the "Edit" button in the top right corner.


We advise you to fill at least the following sections with the relevant information: 

Contact details for visitors

Enter the contact information of the person who your guests can contact in case they have any further questions regarding the event. 

Please enter the following information:

  • Name of contact person
    e. g. Max Mustermann
  • Phone number
    e. g. 0123 / 456 789 01
  • Email
    e. g. max@mustermann.de
  • Additional contact information
    e. g. "Available daily from 9am to 5pm"
Editorial texts

The texts you enter here will be displayed to your guests on the event microsite.

Please enter the following texts:

  • Introtext
    Will be displayed as an introductory text on the event microsite.
  • Description
    Will be displayed on the event microsite. Use the description text to give your ideas a better idea of what they can expect from the event.
  • Intro text registration form
    This text will be displayed above the registration form and can be used to give your guests further information on how to fill in the registration form. You can also use personalised text blocks to directly address your guests.
  • Tip: In order to personalise the editorial texts, you can use the text blocks that are displayed above the fields where you can enter the texts. In order to use a text block, click on it to save the code to your clipboard and then enter it at the desired position within your text.

Important: Don't forget to click the "Save" button in the top right corner as soon as you have entered all necessary information.

6. Set guest capacity

6. Set guest capacity -

In order to prevent that too many guests sign up for our small, simple event, you can set a capacity for your event in order to limit the amount of people who can sign up for your event.

Here's how:

  • Go to the "Settings" tab of your event
  • Scroll to the "Registration process" section
  • Click on the "Edit" button in the top right corner
  • Enter the maximum number of guests under "Max. guests"
  • Click on the "Save" button in the top right corner in order to save your settings 

Further information about the settings that are available in the "Registration process" section can be found here.

7. Adjust design

7. Adjust design -

In order to make your event a bit more pleasing to the eye, you can change the colorsn that are used for the event microsite, the registration form and the emails you send out to your guests.

This is how it works:

  • Go to the "Design" tab of your event
  • Click on the "Edit" button in the top right corner
  • Enter the color codes (e. g. #000000) or choose the colors with the color picker
  • Upload a background image, if desired
  • Click on the "Save" button in the top right corner

Further information regarding the design settings of your event can be found here.


Tip: If you don't enter any colors here, guestoo will use the colors that have been saved under Agency > Design as a fallback.

8. Customise registration form: Master data

8. Customise registration form: Master data -

In order to collect all necessary information of your guests during their registration, you can customise the registration form to your liking.

Here's how it works:

  • Go to the "Form" tab of your event
  • In the "Master data" section, decide which fields you want to be shown in the registration form and whether the fields should be voluntary or mandatory:
    • Crossed out, red eye symbol: Won't be visible in the registration form for the guest
    • Green eye symbol: Will be visible in the registration form for the guest, voluntary
    • Green star symbol: Will be visible in the registration form for the guest, mandatory
  • Further information regarding the master data can be found here.


In order to keep our example event for this tutorial simple, we'll choose the following master data: Email, First name, Last name, Mobile.

But feel free to choose the master data that is relevant for you and your event. :) 

9. Customise registration form: Event-specific fields

9. Customise registration form: Event-specific fields -

The master data already covers most of the data that event organizers usually need to collect from their guests.

However, you also have the option to ask your guests to enter further, specific information in the registration form.


Here's how it's done:

  • Go to the "Form" tab of your event
  • Click on the "+ Add field" button under the headline "Event-specific fields"
  • You'll be able to choose from different field types here. The most commonly used field types are:
    • Text (single-line): Input field for short texts
    • Textarea (multiline): Input field for longer texts
    • Selection list: A list of predefined options that your guests will be able to choose from
  • After choosing the field typ, enter a label (and description, if needed) for the field and enter the available options, if you've decided for a selection list. 
  • Click on the "+ Create new" button
  • As soon as you've created the field, you have the opportunity to choose whether the field will show up in the registration form and whether the field will be mandatory or voluntary:
    • Crossed out, red eye symbol: Won't be visible in the registration form for the guest
    • Green eye symbol: Will be visible in the registration form for the guest, voluntary
    • Green star symbol: Will be visible in the registration form for the guest, mandatory

Further information regarding these and other event-specific field types in guestoo can be found here.

10. Registration via event microsite, form or QR code

10. Registration via event microsite, form or QR code -

As soon as you have customised the event according to your wishes, the first guests can register for your event.

You'll have different options for this:


1. Event microsite

  • Send the public URL to the event microsite to your guests, so that they can sign up for the event there by clicking on the "Register now" button. The URL can be sent via email, SMS, etc.
  • In order to get the URL, go to the menu on the right-hand side and click on the menu item "Event microsite"
  • The link to the event microsite will be displayed there. You can visit this URL to check your event settings and also forward it to your guests so they can look at it and sign up for the event.


2. Registration form

  • You also have the option to only use the registration form, without the rest of the event microsite.
  • In order to do this, go to the menu on the right-hand side and click on the menu item "Registration form"
  • Here you can choose from two options:
    • Send the URL that is displayed in the new window to your guests, e. g. via email, SMS, etc.
    • Copy the code below the URL and paste it to the HTML code of your own website in order to embed it there. Your guests will be able to sign up directly through the form on your website.


3. QR code

  • Use a QR code to guide your guests to the event microsite or registration form. You can print this QR code on flyers, posters, printed invitations, etc.
  • In order to do this, go to the menu on the right-hand side and click on the menu item "QR code"
  • Save one of the two QR codes and use it for your flyer or invitation design or just print it out. You can choose from two different QR codes:
    • QR code to the event microsite
    • QR code to the registration form

11. Invite guests directly

11. Invite guests directly -

If you only want to invite specific guests to your event, you can also choose to invite them with a personal email, directly through guestoo.

Here's how it's done:

  • Go to the "Guests" tab of your event
  • Click on the "+ Add a guest" button
  • Enter the email addresses of the guest(s) you want to invite into the field in the new window. You can separate multiple guests with a comma (,) or by using the Enter key between email addresses.
  • Confirm that you have the consent of every single person to save their data and contact them via email.
  • If desired, you can already enable the option "Send invitation" here. The guests will receive an invitation email with a personalised link to sign up for the event. You can also send the invitations at a later time though.
  • Click on the "Add" button in the bottom right corner

12. Send mailings to guests

12. Send mailings to guests -

Sometimes it can be necessary to send updates or further information regarding the event to your guests.

With guestoo you can send mailings of all kinds easily and at any time - here is how it's done:

  • Go to the "E-Mails" tab of your event
  • Click on the "Open mailing dialogue" button at the top of the page
  • Choose the type of mailing
    The mailing type "Standard" can be used for all kinds of mailings
  • Choose the recipients of the mailing
    You can choose one or multiple statuses. Only the guests who have one of the chosen statuses will receive the mailing.
  • Personalise the mailing
    Use the placeholders and dynamic text blocks to individualise the mailing and address your guests personally. Simply click on the placeholder/text block of your choice to copy it to your clipboard and paste (Right click > Paste or CTRL + V) it to the desired spot in your mailing.
  • Send your mailing (or save it for later)
    Once you're done, click on the "Send" button in the bottom right corner. If you don't want to send it yet, you can also choose to only save the mailing for now to send it out at a later point.
  • Done :)

Tip: If you want to personalise your invitation emails, you can also send them through the mailing dialogue as described above, by choosing the mailing type "Invitation".

13. Manage guests

Edit master data, send invitations, check-in...

Once your guests have signed up for the event or you added them manually, you have different options to manage them and check them in and out of the event. 

Check out our other tutorial to find out how.

14. Play around & discover the possibilities


guestoo has loads of other features and settings that we haven't covered in this tutorial to keep it as short and easy as possible.

We'd like to encourage you to click your way through our tool and play around with the different options and settings to find new ways of making the organisation of your event as easy and fun as possible for you. Almost all settings are reversible, so that you can't really do anything wrong. :)

In our Documentation for Organizers you'll find further inspiration and explanations for all of our features. And if you still find yourself in need of help at some point, feel free to send us an email to support@guestoo.de at any time, so we can help you out.


But for now, we hope you'll have fun exploring and planning your events with guestoo! :)