Invoices

Here you can find out how to maintain the information necessary to create automatic invoices with guestoo.
All the settings explained here can be found in the “Invoices” tab of the agency settings.

Du kannst für das guestoo Back-End zwischen zwei Darstellungsoptionen wählen. Die Screenshots in der Doku basieren auf dem "Klassischen Design".
Hier siehst Du die Unterschiede, damit Du dich auch im "Modernen Design" zurecht findest: » guestoo Back-End-Design

Create invoices

Create invoices -

Hier kannst Du die nötigen Informationen zur automatischen Erstellung von Rechnungen für Deine Gäste mit Hilfe von guestoo pflegen.
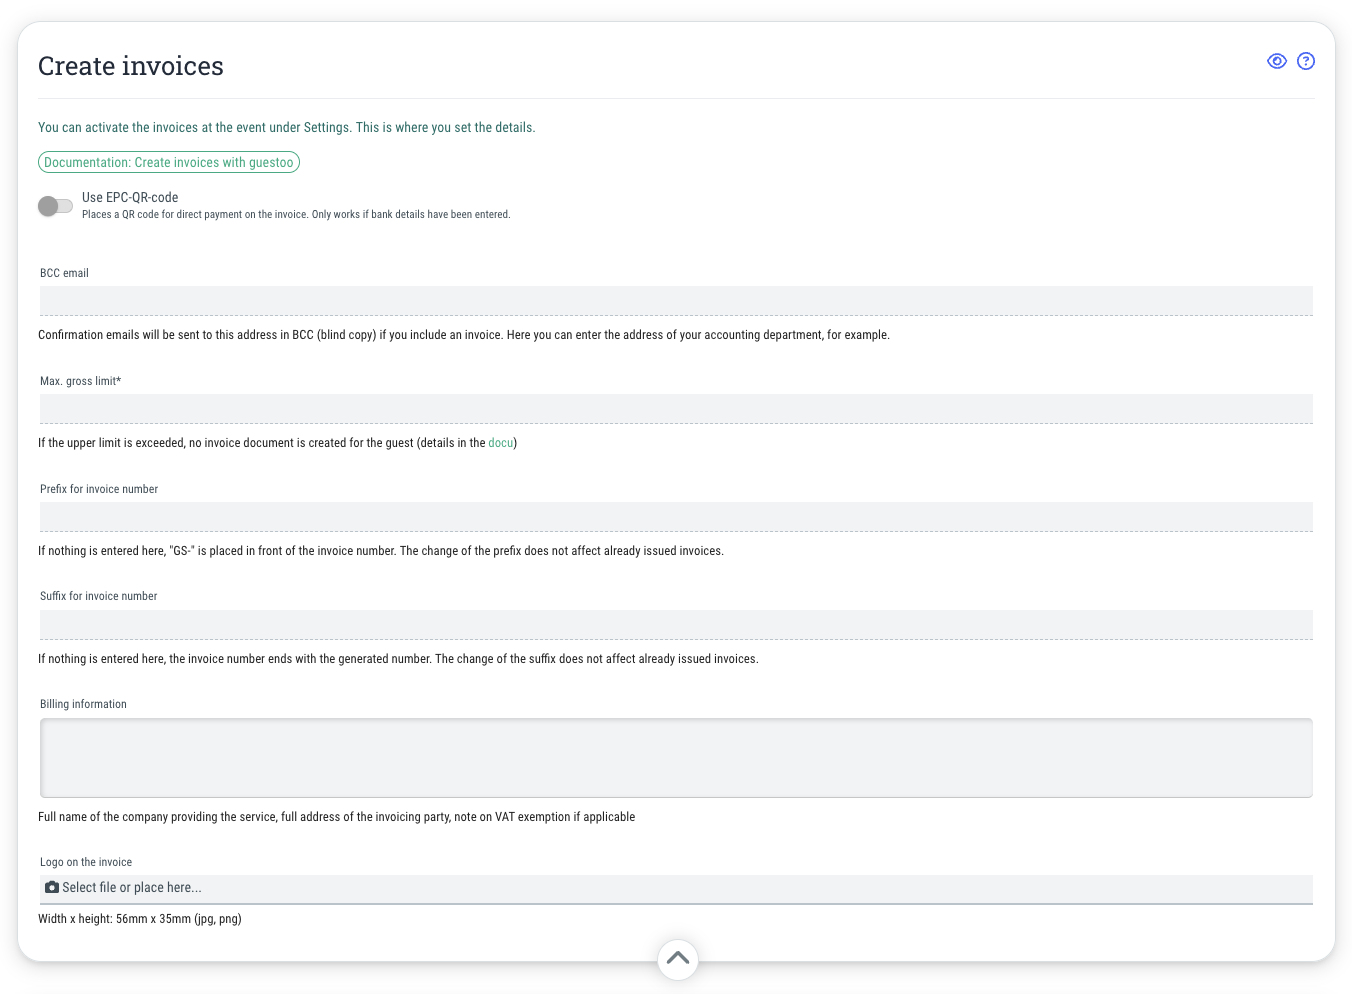
  • Use EPC-QR-code
    If you activate this option (= Toggle on green), there will be a QR code displayed on the invoice that your guests can scan with their banking app in order to pay their invoice easily. Scanning the QR code causes the money transfer form in the banking app is automatically filled with your bank details.

    Note: The automatic filling of account details only works if you have previously entered them under Agency > Payment methods for the payment methods “Invoice” and/or “Prepayment.” These are the only payment methods for which the EPC QR code is available (and makes sense).
  • BCC email
    Here you can enter the email address(es) to which a blind copy of each invoice you create should be sent, e.g. your own email address or the email address of your accounting department.
  • Max. gross limit
    Here you can specify the maximum amount for which guestoo should generate automatic invoices. For example, if you enter the value “9999” here, a guest who purchases tickets worth €10,000 or more will not receive an automatic invoice!
  • Prefix for invoice number
    Here you can set the prefix for the invoice number. If you do not enter anything here, the default prefix “GS-” will be used. Changing the prefix does not affect invoices that have already been created, but only those created after the change.
  • Suffix for invoice number
    Here you can specify the suffix/ending for the invoice number. If nothing is entered here, the invoice number will end with the generated number. Changing the suffix does not affect invoices that have already been issued, but only those created after the change.
  • Billing information
    Here you can enter the information that is important for the invoice, including the full name of the contractor, the full address of the invoicing party, and, if applicable, information regarding VAT exemption.
  • Logo on the invoice
    Here you can upload the logo that should appear on the invoice. Please adhere to the following guidelines:
    • Width x Height: 56mm x 35mm (jpg, png) - only needed for the PDF version
    • Note on email text version: The logo from the “Agency > Info” or “Event > Info” tab will be used automatically here.
    • Format: jpg, png

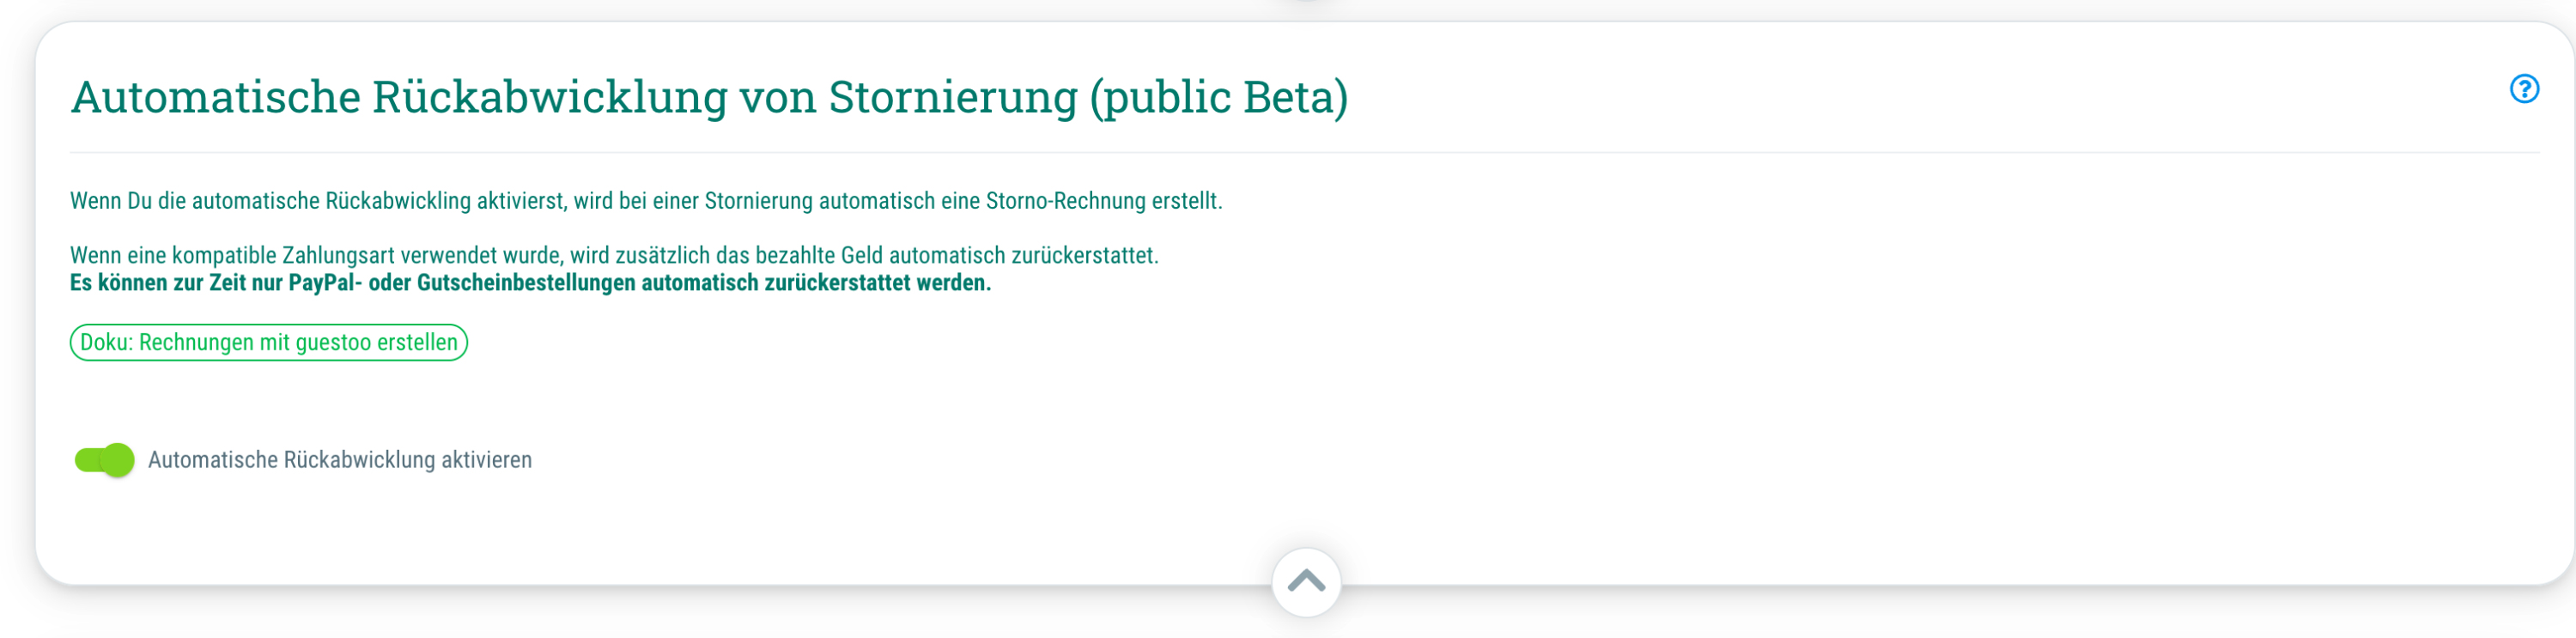
Important: In order for invoices to be created automatically for your guests' orders, you must also activate the creation of automatic invoices at the event. You can find out how this works here.


You can find more detailed instructions on everything you need to consider when creating automatic invoices with guestoo here.

X-invoice / ZUGFeRD

With guestoo, you can issue invoices to your customers that can be imported by ZUGFeRD/X-invoice-compatible accounting software. This means that public authorities, cities, etc. can also receive invoices in digital form, saving everyone involved time, paper, and effort.


This is how you can activate X-invoices:

  • Go to the “Invoices” tab in the agency settings.
  • Click on "Edit"
  • Scroll to the section "X-invoice / ZUGFeRD"
  • Activate (=Toggle on green) the option "Use X-invoice / ZUGFeRD"
  • Attach X-invoice XML
    By default, the XML part of the invoice is integrated directly into the PDF. If you would like to send out an additional XML file, activate this option.
  • Leitweg-ID mandatory
    An X-invoice is only valid with a so-called Leitweg ID. If you only have guests/customers who require an X-invoice, you should activate this option. If you have both guests/customers who require X-invoices and those who do not, deactivate this option.
  • Enter the necessary data:
    • Sender
    • Street, Number
    • Postal code
    • City
    • Country
    • Contact (Name)
    • Contact (Phone)
    • Contact (Email address)
    • VAT ID
    • TAX ID - not mandatory
  • After you have adjusted all settings, click on "Save"


The data required for the X-invoice is requested from the guest during the payment process:

  • Invoice recipient
  • Additional information
  • Billing address (Street, number, ZIP code, city, country)
  • VAT ID
  • Leitweg-ID
  • Reference number
  • Email address for invoice

Automatische Rückabwicklung von Stornierungen

Automatische Rückabwicklung von Stornierungen -

Hier kannst Du automatische Rückabwicklung der Zahlung im Falle einer Stornierung aktivieren - so gehts:

  • Gehe in den Agentur-Einstellungen in den Tab "Rechnungen"
  • Scrolle zum Abschnitt "Automatische Rückabwicklung von Stornierungen"
  • Klicke oben rechts auf "Bearbeiten"
  • Klicke auf den Schieberegler, sodass dieser grün ist, um die automatische Rückabwicklung zu aktivieren
  • Klicke oben rechts auf "Speichern" um die Änderungen zu übernehmen 

Wenn Du die automatische Rückabwicklung aktivierst, passiert folgendes:

  • Bei einer Stornierung wird automatisch eine Storno-Rechnung erstellt
  • Wenn eine kompatible Zahlungsart verwendet wurde, wird zusätzlich das bezahlte Geld automatisch zurückerstattet
  • Es können zur Zeit PayPal-, Stripe- oder Gutschein-Bestellungen automatisch zurückerstattet werden


Eine ausführlichere Anleitung zu allen Punkten, die Du beim Erstellen von automatischen Storno-Rechnungen mit guestoo beachten musst, findest Du hier.