Design

Here you can find out how to customize the design for your events.
You can find all the settings explained here in the “Design” tab of the agency settings.

Du kannst für das guestoo Back-End zwischen zwei Darstellungsoptionen wählen. Die Screenshots in der Doku basieren auf dem "Klassischen Design".
Hier siehst Du die Unterschiede, damit Du dich auch im "Modernen Design" zurecht findest: » guestoo Back-End-Design

Colors

Colors -

Here you can set the colors that are used for your event page, your registration form, your tickets and your emails.


You can maintain the following colors here:

  • Primary color
  • Accent color
  • Text color
  • Text color lighter
  • Separator color: Used for lines and other separating elements
  • Background color

Note: guestoo always accesses the settings maintained here if you leave them empty at the event itself.

Event page template

Event page template -

Here you can set the variables (colour, corner radius, etc.) for our new templates (e.g. "GridAccess"). The values set here apply to all events for which no extra values have been stored.

An explanation for the variables used can be found on this page.

Email template

(Basic subscription and higher)

Email template - (Basic subscription and higher)

If you use guestoo in the Basic subscription or higher, you can specify here which template should be used for your emails.


You currently have the choice between the following templates:

  • Classic (will not be developed further)
  • Modern
  • GridAccess (Email)

If you change the template, no data will be lost! You can therefore try out the view of the different templates at any time by setting them up and then inviting yourself to an event and playing through the process.


Note: guestoo always accesses the settings maintained here if you leave them empty at the event itself.

Ticket design

(Basic subscription and higher)

Ticket design - (Basic subscription and higher)

If you use guestoo in the Basic plan or higher, you can specify here which template should be used for your tickets.


You currently have the choice between five different templates:

Once you have decided on a template, upload the required image(s). Pay attention to the specifications that you will find below the upload.


In order to test the selected ticket template, register yourself for your event. You will find the ticket in the confirmation email.


Note: guestoo always accesses the settings maintained here if you leave them empty at the event itself.

Wallet design

(Pro subscription and higher)

Wallet design - (Pro subscription and higher)

If you use guestoo in the Pro subscription or higher, you can customize the design for your Wallet ticket here.


It's as simple as this:

  • In the “Design” tab of the agency settings, scroll to the “Wallet design” section
  • Click on "Edit"
  • Upload a logo for the Wallet ticket
    Measurements: 360x100 px
  • Upload a thumbnail for the wallet ticket
    Measurements: 100x100px
  • Click on "Save"

In order to test the appearance of your Wallet ticket, register for the event as a guest and go through the process. You will find the wallet ticket as an attachment in the confirmation email.


Note: guestoo always accesses the settings maintained here if you leave them empty at the event itself.

Use your own font

(Pro subscription and higher)

Use your own font - (Pro subscription and higher)

If you are using guestoo in the Pro subscription or higher, you can change the fonts used for the event page and emails all across the agency here. You can also set the fonts individually for each event in the event's design settings.

This feature can also be booked in addition to the Basic plan if you wish - you can find more information here.


The following fonts are available by default:

  • Helvetica
  • Arial
  • Georgia
  • Impact
  • Trebuchet
  • Comic Sans
  • Lucida Console
  • Courier New
  • Verdana


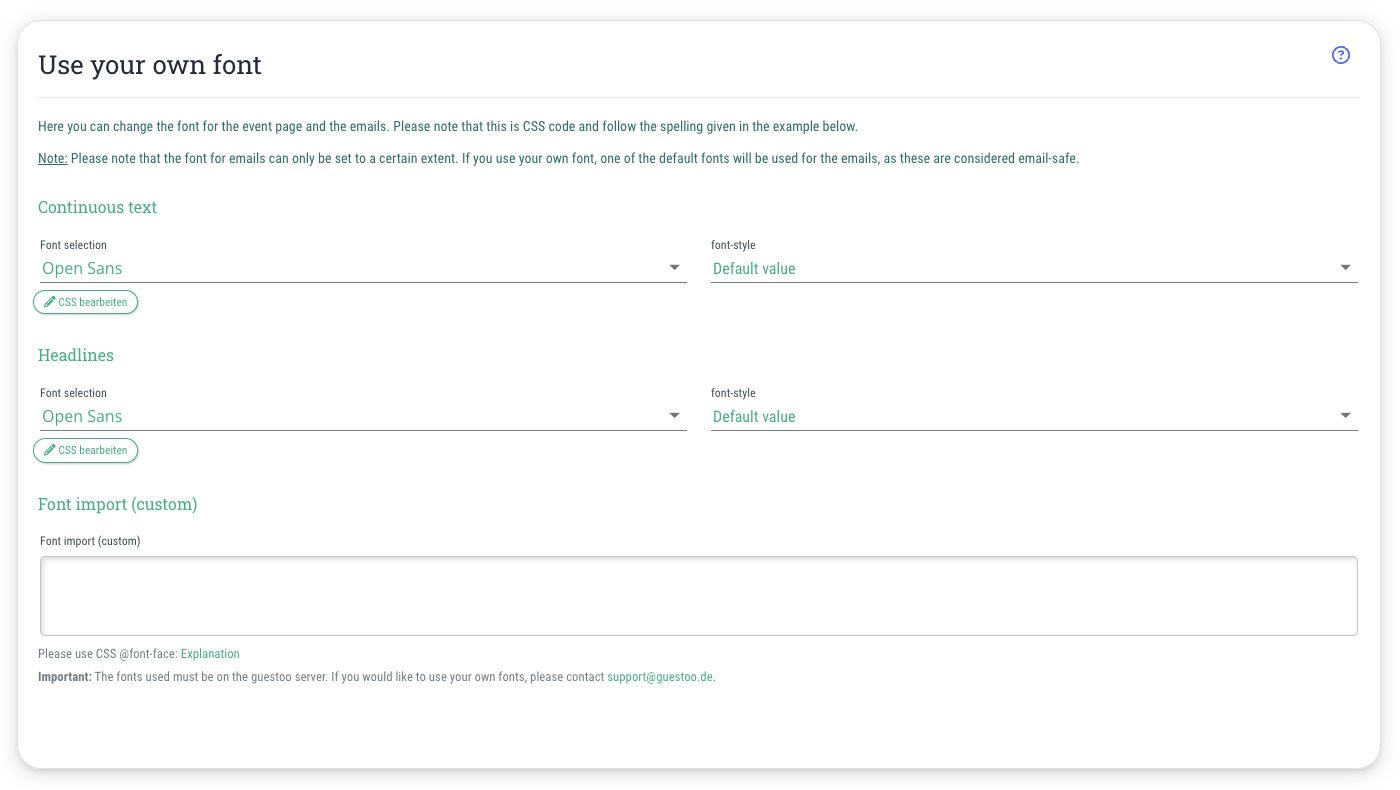
You can set the font separately for the body text and for the headlines.

This is how:

  • Go to the "Design" tab of the agency
  • Scroll to the section "Use your own font"
  • Click on "Edit"
  • Go to the drop-down menu under “Body text” or “Headlines”
  • Choose the desired font
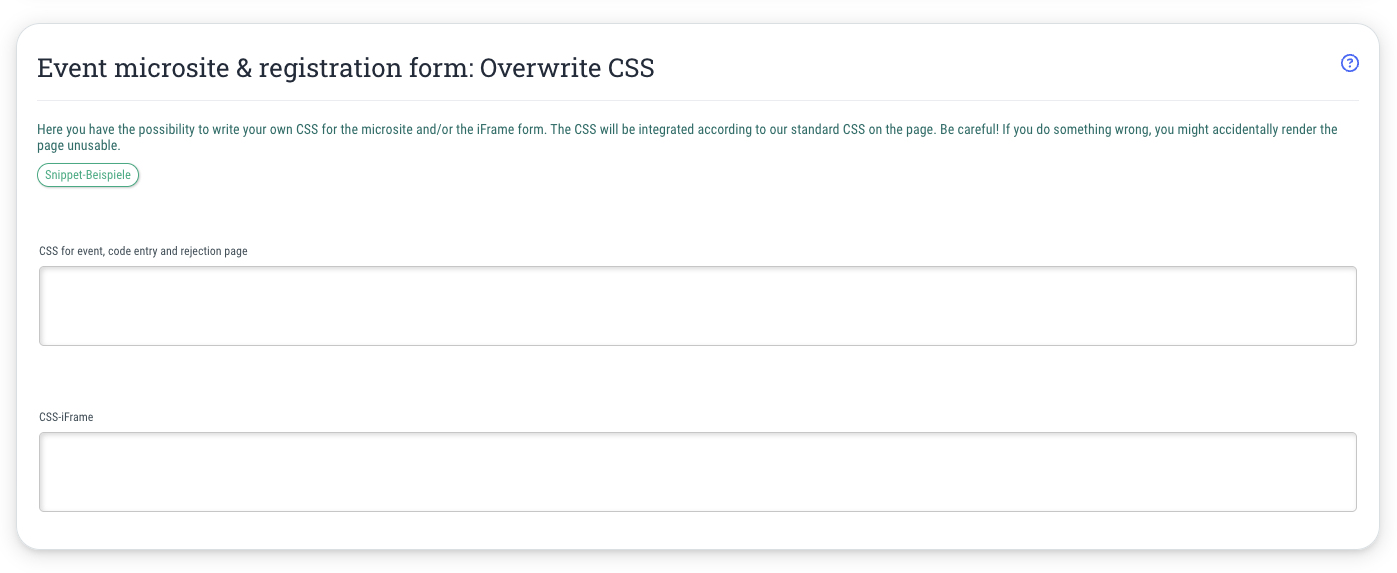
  • You can also select the option “Use your own CSS specifications” and enter the desired CSS specifications in the field below
  • Click on "Save"
Use custom fonts

If you would like to use a font other than those listed above, this is of course also possible.

In order to do this, the fonts must be stored on the guestoo server - so please contact support@guestoo.de with the following data:

  • Your agency ID
  • Webfont(s)
  • CSS file for the different font styles or at least the information about which font styles are required
  • Note: If you do not have web fonts for the desired fonts, you can also send us .otf or .ttf files, provided that the licenses of the fonts permit their use on the web.

Note: guestoo always accesses the settings maintained here if you leave them empty in the event itself. If you define other settings in the “Design” tab of the event, these will be used.

Event microsite & registration form: Overwrite CSS

(Included from Business subscription upwards)

Event microsite & registration form: Overwrite CSS - (Included from Business subscription upwards)

If you use guestoo in the Business subscription or higher, you have the option to overwrite guestoo's CSS with your own.

This feature can also be booked in addition to the Pro subscription if you wish - you can find more information about this here.

Notes on overwriting the guestoo CSS
  • There are two places where you can overwrite the CSS: the event microsite and the iFrame form.
  • The CSS will be embedded on the site after our default CSS.
  • Attention!! If you do something wrong here, you can make your site unusable in the worst case. We therefore recommend that you only use this function if you are familiar with CSS.
  • Tip: Helpful code snippets for customizing the HTML and CSS can be found here.

Note: guestoo always accesses the settings maintained here if you leave them empty at the event itself.

Event microsite: Use your own custom HTML

(included from Business subscription upwards)

Event microsite: Use your own custom HTML - (included from Business subscription upwards)

If you use guestoo in the Business subscription or higher, you have the option of integrating your own header and footer into your event microsite with the help of HTML.

This feature can also be booked in addition to the Pro subscription if you wish - you can find more information here.

Notes on overwriting the guestoo HTML
  • There are two places where you can add your own HTML to the event microsite: In the header and in the footer
  • The header code is inserted directly after the body tag, before our code.
  • The footer code is inserted after our code.
  • Attention!! If you do something wrong here, you can, in the worst case, render your page unusable. We therefore recommend that you only use this function if you are familiar with HTML.
  • Tip: Helpful code snippets for customizing the HTML and CSS can be found here.

Note: guestoo always accesses the settings maintained here if you leave them empty at the event itself.

Event Overview Page: Overwrite CSS

(Included from Business subscription upwards)

Event Overview Page: Overwrite CSS - (Included from Business subscription upwards)

If you use guestoo in the Business subscription or higher, you have the option to overwrite the CSS of the guestoo event overview page with your own.

This feature can also be booked in for the Pro subscription if you wish - you can find more information here.

Notes on overwriting the guestoo CSS
  • The CSS is integrated into the page after our standard CSS.
  • Attention!! If you do something wrong here, you can make your site unusable in the worst case. We therefore recommend that you only use this function if you are familiar with CSS.
  • Tip: Helpful code snippets for customizing the HTML and CSS can be found here.

Event Overview Page: Use your own HTML

(Included from Business subscription upwards)

Event Overview Page: Use your own HTML - (Included from Business subscription upwards)

If you use guestoo in the Business subscription or higher, you have the option of integrating your own header and footer into your event overview page using HTML.

This feature can also be booked in addition to the Pro subscription if you wish - you can find more information here.

Notes on overwriting the guestoo HTML
  • There are two places where you can add your own HTML to the event microsite: In the header and in the footer
  • The header code is inserted directly after the body tag, before our code.
  • The footer code is inserted after our code.
  • Attention!! If you do something wrong here, you can, in the worst case, render your page unusable. We therefore recommend that you only use this function if you are familiar with HTML.
  • Tip: Helpful code snippets for customizing the HTML and CSS can be found here.

Note: guestoo always accesses the settings maintained here if you leave them empty at the event itself.

Event Microsite: Use your own script tags

(applies to all public pages)

Event Microsite: Use your own script tags - (applies to all public pages)

If you would like to integrate a content banner and/or use tracking on your event microsites, you can enter the corresponding code here.

There are two fields available for this:

  • Script header
    The content entered here is inserted at the end of the header tag.
  • Script body
    The content entered here is inserted at the end of the body tag.
Important notes
  • Please be careful with the code you enter here and do not use any malicious code!
  • The code you enter here will be used for all public event microsites (including the agency's event overview page).
  • For tracking with guestoo, we recommend the provider CCM19, as it is compatible with guestoo!
  • The provider Cookie Bot is not compatible with guestoo!

Presets

Presets -

Contents to follow