Name badge template designer

Create your own name badge templates and customize the content and design according to your wishes.

Feature details

Du kannst für das guestoo Back-End zwischen zwei Darstellungsoptionen wählen. Die Screenshots in der Doku basieren auf dem "Klassischen Design".
Hier siehst Du die Unterschiede, damit Du dich auch im "Modernen Design" zurecht findest: » guestoo Back-End-Design

Needed feature


In order to create your own name tag templates, you need the following feature: Generate name badges


This feature is included in guestoo free of charge from the Pro subscription upwards, but you can also add it to the Basic subscription at an additional cost.

Create new name badge template


This is how:

  • Click on the menu item "Settings"
  • Switch to the "Name badges" tab
  • Click on the button "+Create name badge"
  • Fill in the necessary data:

    Basic data
    • Name:
      Choose a name for the template. This is for internal purposes only.
    • Sorting order:
      You can enter a number here. If you enter a “1”, for example, this template will be displayed first in the internal listing of your agency.
    • Status:
      Active / Inactive

    Dimensions of the label
    • Width:
      Enter the width of the name badge here (in cm).
    • Height:
      Enter the height of the name badge here (in cm).

    Print sheet
    Select the desired print sheet here. We have already created print sheets for the most common templates.
    If you require further print sheet formats, please send us a request to support@guestoo.de
  • Click on the button "+ Create now"

Centered text alignment

Centered text alignment -


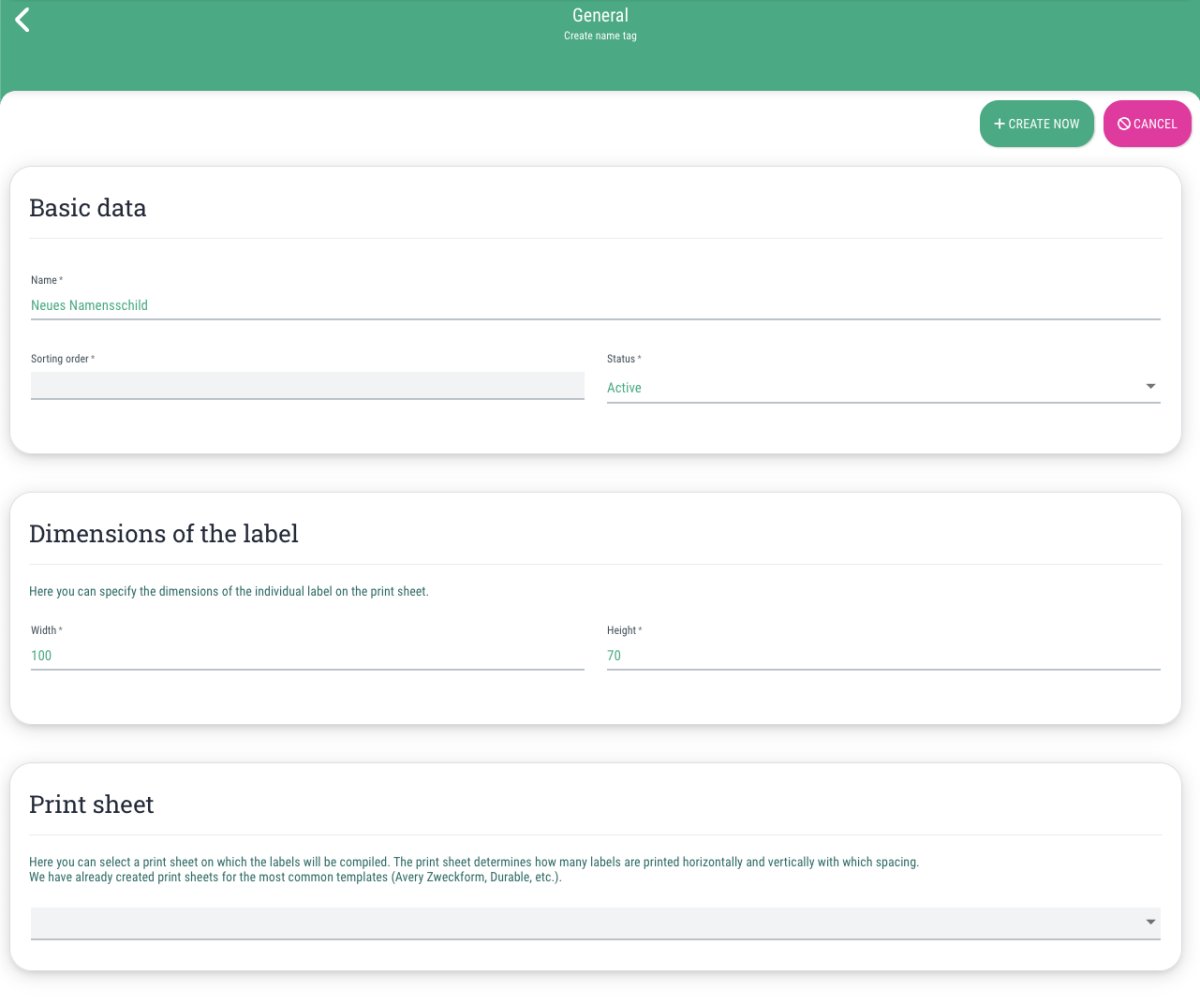
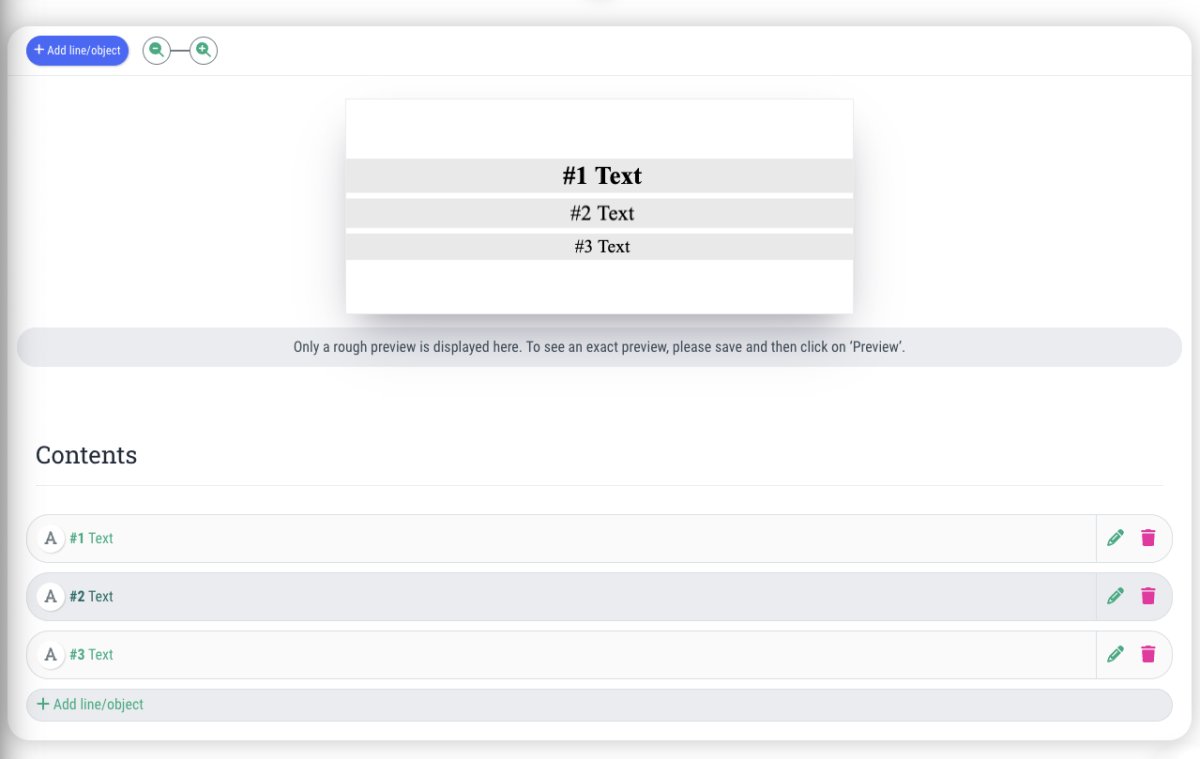
To simplify the configuration of the name badge templates, you can have all objects and texts on the name badge automatically centered. This means that all lines are grouped together and centered horizontally and vertically on the name tag. If a line is omitted, the remaining lines are still centered.


This is how:

  • Switch to the tab "Content & Design"
  • Click on "Edit"
  • Check the box next to the option "Center all text (horizontal & vertical)"
  • Spacing for centered text (top)
    Here you specify the distance from the top edge of the name tag to the first line of text (in mm)
  • Space between the lines
    Specify how much space should be between the individual lines (in mm)
  • Click on “Save” in the top right-hand corner to apply the changes. Only then will the preview of the name tag template be updated.

Note: Images, QR codes and content of the “fixed text” type always remain fixed in the position where you place them.

Personalize name badge template

Add lines and objects


Once you have created the template, you still have to add the content of the name badge by adding lines and objects.


This is how:

  • Go to the tab "Content & Design"
  • Click on "Edit"
  • Click on the "+ Add line/object" button in order to add a line to the name badge
  • In order to change the content of the object, click on the pencil icon next to the desired object in the list under the “Content” headline

    In the dialog window you can set the following information:

    Type & Content
    • Type:
      • Text
        For short texts
      • Textarea
        For longer, multi-line text
      • Agency logo
        Adds the logo that has been set under Agency > Infos
      • Custom logo/image
        Gives you the opportunity to upload your own logo or image here
      • Check-in QR-code
        Inserts the guest's individual check-in QR code
      • Custom QR-code
        Generates a QR code from the link that you enter in the “Content” field (see below)
      • Fixed text
        You can use this type for texts that should always be positioned at a fixed point, even if the “Center all text” option is activated. This allows you to align a specific text in the top right corner of the name tag, for example.
      • Box
        Generates a box in which you can place additional content, for example. You can define the background color, line thickness and style (solid, dashed) yourself in the “Style” section.
      • Horizontal line
        Generates a horizontal line. You can define the color, line thickness and style (solid, dashed) in the “Style” section.
      • Vertical line
        Generates a vertical line. You can define the color, line thickness and style (solid, dashed) in the “Style” section.
    • Content:

      Enter the desired content here. Depending on the type selected, this can be either a text, a link or an image file.
      You can find an overview of all placeholders that you can use for your name tag templates on this page.


    Position & size
    Note: The following information is not necessary if you have activated the “Centered alignment” option (except for fixed objects such as QR codes, images or content of the type “Fixed text”)
    • X
      Specify the position on the X-axis where the object should start.
    • Y
      Specify the position on the Y-axis where the object should start.
    • Width
      Here you specify the width of the object (please enter the value in mm!)
    • Height
      Here you specify the height of the object (please enter the value in mm!)
    • Rotation
      Here you can specify whether the object should be rotated (please enter the value in °!)
    • Margin X
    • Margin Y
    • Logo position
      • Do not display
      • Top right
      • Top left
      • Top center
      • Bottom right
      • Bottom left
      • Bottom center
      • Custom
    • Note: Not all fields are available for every content type.

    Style
    • Background color
    • Line style
      • Solid
      • Dashed
    • Bold
      If you check this box, the text will be displayed in bold.
    • Italic
      If you check this box, the text will be displayed in italic.
    • Underline
      If you check this box, the text will be displayed in underlined.
    • Fill
    • Wrap Line
    • Reverse Text
    • Text Align
      • Left
      • Center
      • Right
    • Font size
    • Font
    • Use different line spacing
    • Line spacing
    • Font color
  • As soon as you have entered all the values, click on the “Apply changes” button at the bottom right
  • Once you have customized the object, you can drag and drop it onto the template as you wish

Note: The preview displayed in the editor is only a rough preview to clarify the arrangement of the content. To get a more detailed preview, click on the “Preview” button below the preview (after you have saved the name badge template).